
Patterns · 3 MIN READ
Cross Stitch Christmas Cards: Fit and Mount a Mini Motif
Plan a small stitched Christmas card around the real window opening, then mount the fabric flat and protect the inside before posting.
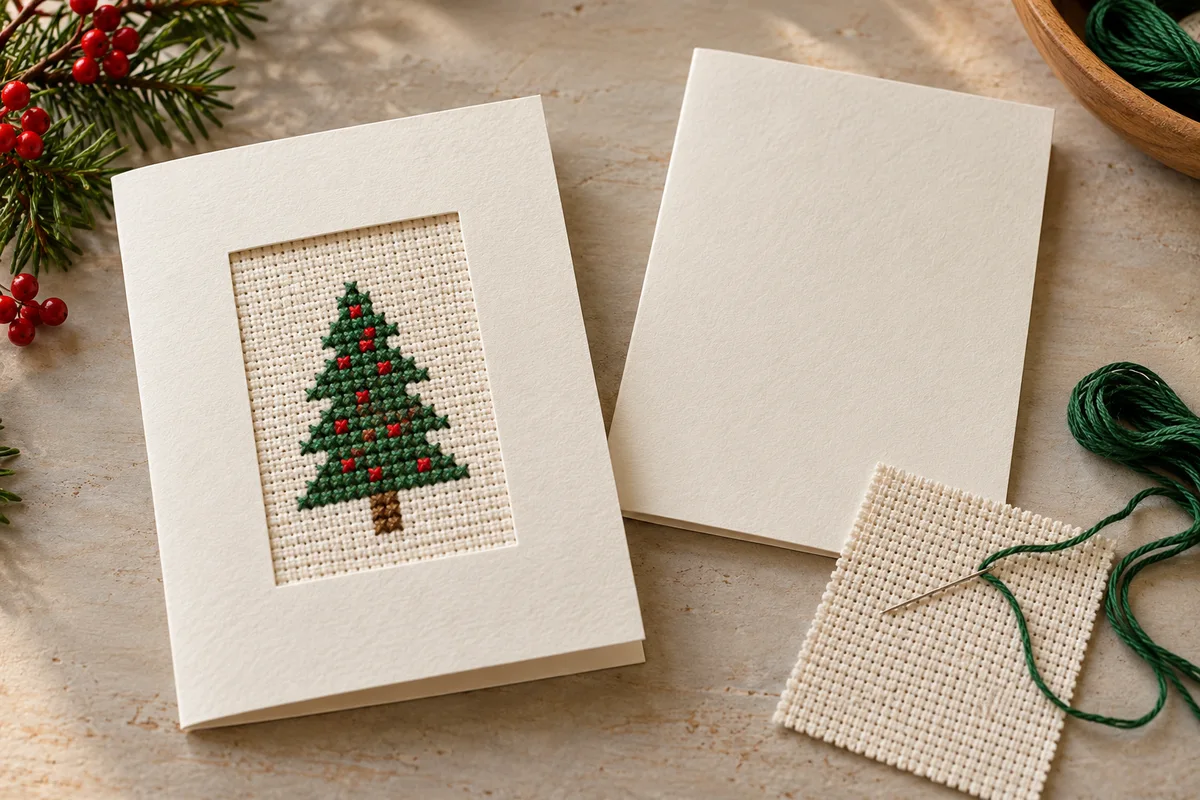
Measure the card opening before choosing a chart
Cross stitch Christmas cards work best when the motif fits the actual opening rather than a size guessed from the packaging. Measure the visible aperture in both directions. Allow space between the outer stitches and the edge so the card does not hide the design. Keep the fold, backing panel and envelope dimensions in your notes.
Use a small original chart or one whose license allows your intended use. The tree on our cover is an illustration of the finish, not a counted pattern. For a chart with an explicit license, begin with our free pattern collection, or draw your own simple geometry in the grid designer.
Calculate the maximum motif size
Suppose the aperture is 3 by 4 inches and you want a quarter-inch visible clearance on each side. The design box is then 2.5 by 3.5 inches. At 14 stitches per inch, that gives a maximum box of 35 by 49 stitches. Round down any fractional stitch result. The longest outer stitch, including backstitch, must stay inside that box.
A 28 by 42 stitch motif measures 2 by 3 inches on 14-count Aida, leaving half an inch between the motif and each edge of that example opening. This is the stitched size, not the fabric cut. Use the fabric calculator and leave additional cloth behind the card for mounting. The card blank’s construction determines that allowance.
Choose a motif that is quick to read
A small tree, star or geometric ornament needs fewer details than a miniature scene. Keep the silhouette distinct and leave some fabric showing. Avoid squeezing long text into spare rows unless you have charted every letter and checked its width. Use the name maker separately if you want to plan a short greeting.
Choose the actual thread shades against the card color. Dark green on dark green card can disappear even when each looks attractive alone. Metallic thread or bulky knots can complicate a thin card; test the material and the folded thickness first. Follow the chart or thread maker’s guidance rather than assuming a standard strand count works for every thread.
Stitch and prepare the small fabric panel
Center the chart on a piece of fabric large enough to hold comfortably and to overlap the opening. Keep upper cross legs facing the same direction. Secure thread ends without bulky knots, especially near the area that will be sandwiched between card layers. Avoid long dark carries behind unstitched light fabric.
Finish washing or pressing before mounting, if the materials permit those steps. Follow the care instructions and test unfamiliar threads for color transfer. Let the cloth dry fully. A card is not a useful place to discover damp fabric, a heat-sensitive thread or a stain from an unsuitable marking pen.
Dry-fit the layers before attaching anything
Place the finished stitch panel behind the opening without adhesive. Check centering from the front, the available overlap behind the aperture and clearance from the fold. Close the card and check whether the layers lie flat. Trim only after this trial fit and leave sufficient cloth to secure it.
Use a mounting material intended for paper and textiles according to its instructions. Keep adhesive away from the visible stitch area and test a scrap for staining. Cover the reverse with the card’s backing flap or a separate lining cut to fit, without obstructing the fold. Work one edge at a time so the panel stays centered.
Check the envelope and make one finished sample
Let any adhesive cure as instructed, then check that no sharp needle remains with the card and that the inside is tidy. Test the actual envelope with the finished layers. A raised decoration or thick panel can change the mailing thickness; check the postal service’s current requirements for your destination.
For a batch, complete one card from stitching through envelope fit before cutting all the fabric. Record the aperture, chart dimensions, cut size and mounting method. Can a bigger motif be made smaller on denser Aida? Yes, physically, but it keeps the same number of stitches and may need a different needle or strand choice. Recalculate and sample before committing.
Choose an original chart from our free collection, or check your fabric measurements before you begin.
Free cross stitch patterns · Fabric calculator