
Patterns · 9 MIN READ
Small cross stitch patterns: plan a satisfying weekend project
Choose a small chart by stitch count and complexity, prepare its supplies, and plan enough time to finish the whole object.
Define a small project by effort as well as dimensions
Small cross stitch patterns can make satisfying weekend projects, but a small finished size does not guarantee a quick finish. A compact chart may contain dense coverage, frequent color changes, or several unfamiliar techniques. Start by deciding what you want to complete and how much focused time you realistically have. The useful question is not only whether the design fits a small frame, but whether its stitching and finishing fit your schedule.
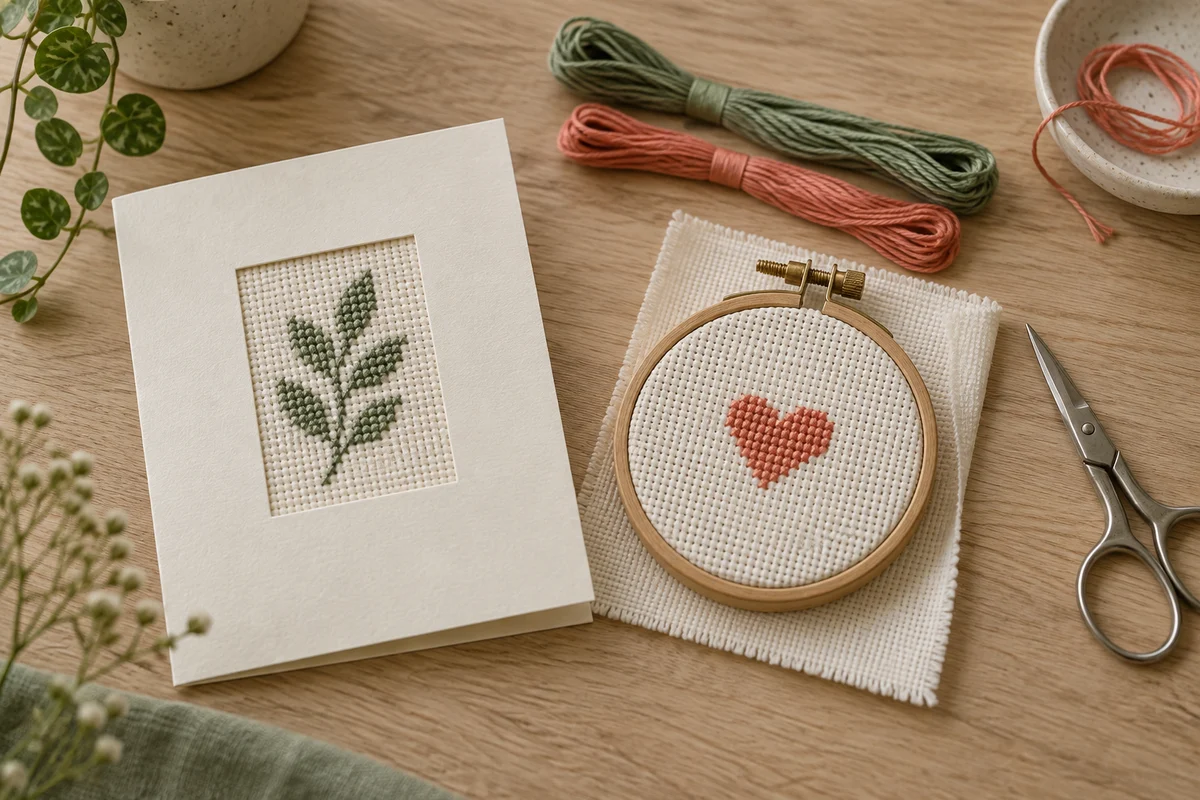
Choose a specific finished object: a greeting card, a little framed motif, a bookmark, or a simple ornament. That choice gives the project a boundary and helps you evaluate patterns. A small square intended for a card needs to fit the aperture, while a bookmark needs a narrow layout and practical backing. Avoid selecting a chart first and assuming that a suitable finish will appear later without additional materials or work.
Write a brief that includes the object, the desired stitch area, the techniques you are comfortable using, and the time available. For example, you might want a compact floral card worked mostly in full crosses with three colors. That brief is more useful than an arbitrary maximum width. It helps you reject charts that look small in photographs but contain more complexity than you want for this particular project.
Count the active stitches, not just the rectangle
A 30-by-30 chart has 900 possible squares, but an outline motif may stitch only a fraction of them. A filled geometric block could use almost all of them. Look at how much of the grid is actually occupied and how those stitches are distributed. Broad connected areas are handled differently from dozens of isolated accents. These observations provide a better starting point for planning than the outer dimensions alone.
Choose one achievable challenge
A small project is a good place to practise one new skill because the scope remains manageable. You might focus on consistent full crosses, a neat change between colors, a short backstitch outline, or careful finishing. Choose the challenge deliberately and keep the rest of the pattern familiar. Learning several techniques at once can turn a modest chart into a much longer exercise than you intended.
Inspect the pattern's stitch key before buying materials. Check for fractional stitches, knots, beads, blends, or special instructions that are not obvious in the finished photograph. A simple silhouette can still use intricate detailing. If the goal is a relaxed first project, choose a chart whose instructions you understand and whose symbols are easy to distinguish. The beginner guide offers a refresher on the basic counted stitch sequence.
Do not treat a difficulty label as a guarantee. Designers can use different criteria, and your own experience matters. A stitcher comfortable with lettering may find a small name sampler easier than a flower with many subtle shade changes. Another stitcher may prefer connected blocks of color. Compare the actual chart with the kinds of tasks you enjoy rather than assuming every small design asks for the same skills.
Calculate the stitched size and fabric cut separately
Find the chart's stitch width and height. Divide each by the effective number of stitches per inch to calculate the embroidery's physical dimensions. A 42-stitch-wide chart measures three inches across at 14 stitches per inch. That measurement is the stitched area only. You also need material around it for holding the fabric and for the construction of the final object.
Use the fabric calculator to compare dimensions and margins. Check the actual card opening or frame aperture rather than relying solely on a package's outer dimensions. A decorative frame sold as a small size may show less of the embroidery once its mount is fitted. If the motif needs breathing room, include that space when evaluating the opening. A chart that technically fits can still look cramped.
Keep extra fabric until the finish is confirmed. Cutting close around a tiny motif can make it difficult to hold, mount, or back neatly. The final trim depends on the finishing method, so plan the whole object before making an irreversible cut. If a kit supplies pre-cut fabric, inspect its margin and choose a working support that grips it comfortably without forcing the design against the hoop edge.
Test the scale with a paper mock-up
Draw a rectangle matching the calculated stitched size and place it inside the intended frame or card opening. Add a rough sketch of the motif and its surrounding blank area. This quick test can reveal an undersized motif, a crowded border, or an awkward orientation. Make changes before cutting fabric or starting the chart, when the design is still easy to adjust.
Prepare a short supply list and a readable chart
List the fabric, needle, thread shades, working support, and finishing supplies needed for this one project. Add any backing, card blank, frame, or hanging material that the chosen finish requires. A weekend project can stop unexpectedly if its embroidery is complete but the final object needs a missing component. Gather the supplies at the beginning, then check them against the instructions rather than shopping from the cover photograph alone.
Keep the palette controlled when simplicity is the goal. Three distinct colors can produce a clear little motif, while several near-identical shades may add thread changes without much visible benefit at a small size. If substituting shades, compare actual threads on the selected fabric where possible and record every substitution. Screen previews help with planning, but they do not guarantee the appearance of physical thread under your room's lighting.
Check the chart at the size you will use while stitching. Symbols must be distinct, the key must be complete, and the center or another starting reference should be easy to locate. A tiny chart printed at a tiny scale is not automatically convenient. Enlarge a permitted working copy if necessary, or choose a readable viewing format allowed by the pattern's terms. Keep the original and your progress marks distinguishable.
Plan sessions around your own pace
Estimate stitching time from a pace you have measured on comparable work. Count a small completed area from a recent session and note how long it took, including normal chart checks and thread changes. Do not borrow someone else's speed as a promise for your weekend. A new technique, unfamiliar fabric, or many isolated stitches can change your pace significantly.
Use the stitching time calculator to explore a schedule with your own estimate. Leave time for preparation, correcting mistakes, and finishing instead of assigning every available hour to stitches. If the plan uses all your free time before the backing is considered, reduce the scope or extend the schedule. A satisfying completed object is usually a better target than a rushed chart that still needs several finishing decisions.
Break the project into visible stages: verify the starting position, complete the main shape, add secondary details, check the chart, and finish the object. Each stage gives you a natural stopping point. Record the current color and reference when you pause. The project progress tracker can note totals and sessions, while chart markings identify exactly which stitches have been completed.
Leave a margin for mistakes
Counting mistakes are possible even in a small chart. Plan enough time to correct a misplaced row without turning the entire project into a deadline problem. If you are making a gift, avoid using the last available evening as the only finishing session. A modest time reserve lets you check the recipient's name, the object's alignment, and the final construction with the same care you gave the stitches.
Stitch from confirmed reference points
Mark the fabric center and locate the chart center, or use another starting method that you can measure accurately. Count in both directions before placing the first stitches. A correct vertical distance does not establish the horizontal position. Check the beginning against the chart's outer dimensions so you know that the intended margin remains available on all sides.
Work a manageable connected area and verify it before building the next section from it. Small charts often tempt stitchers to rely on visual guesses because the whole design seems easy to see. However, one misplaced square can shift a leaf, letter, or border noticeably. Count from a known feature rather than from an uncertain unfinished edge. Pause at a useful boundary, such as the end of a row or one complete motif.
Keep the upper diagonals of full crosses facing the same direction and avoid pulling thread so hard that it dents or distorts the fabric. Check the back when thread catches instead of assuming that more force will release it. A loop around the hoop screw or a knot behind the fabric can affect the front if tightened. A brief inspection usually makes the problem easier to solve.
Finish the project as carefully as the embroidery
Before mounting or backing, compare the completed piece with the chart. Look for missing single stitches, incomplete letters, and an omitted color in a repeated motif. Check the actual stitched dimensions and the visual center. An asymmetrical design may need a slightly different placement than a perfectly centered geometric block, so test the position before attaching or trimming anything.
Follow the care instructions for the specific fabric, thread, and embellishments if cleaning or pressing is part of the finish. Do not assume that every material can be treated in the same way. Plan that treatment before stitching when possible, especially for specialty threads or added details. Keep the work clean during the project so the final stage does not depend on solving avoidable stains or marks.
For a flat framed finish, use the framing guide to consider alignment, support, and the display opening. For a card or ornament, follow the chosen construction method and check the back as well as the front. A small object often receives close attention in the hand, so tidy edges and a secure backing contribute strongly to the finished result.
Make the final object practical
Think about how the piece will be used. A bookmark needs to sit comfortably between pages, while an ornament needs an appropriate hanging arrangement. A framed motif needs stable support rather than simply being pushed into an opening. Choose decorative additions with that use in mind. Raised embellishments may suit a display piece but be inconvenient on an object that is pressed flat or handled frequently.
Learn from one finish before choosing the next chart
Record the stitch count, fabric count, palette, strand count, and finishing method. Note the time spent on preparation, embroidery, and construction separately if you want a better estimate for future projects. These notes help you recognize which part of a small project took longer than expected. A slow finish may reflect an unfamiliar backing method rather than difficulty with the chart itself.
Choose the next project using what you learned. If the connected color areas were enjoyable, try a slightly larger motif with the same general structure. If the small lettering needed more concentration, practise another short line before attempting a long message. Increase one aspect of difficulty at a time so you can identify which change affects your experience. A series of completed small pieces can build confidence steadily.
Small does not mean incomplete or unimportant. A clear motif with measured spacing, consistent stitches, and a thoughtful finish can be a useful card, a personal gift, or a satisfying object for your own room. Define the scope, prepare the whole project, and give the final construction a place in the schedule. That turns a small chart into a completed piece rather than another unfinished square of fabric.
Choose an original chart from our free collection, or check your fabric measurements before you begin.
Free cross stitch patterns · Fabric calculator