
Getting started · 9 MIN READ
Cross stitch pattern books: choose a book you will use
Evaluate chart readability, stitch types, materials and formats to choose a pattern book you will enjoy using.
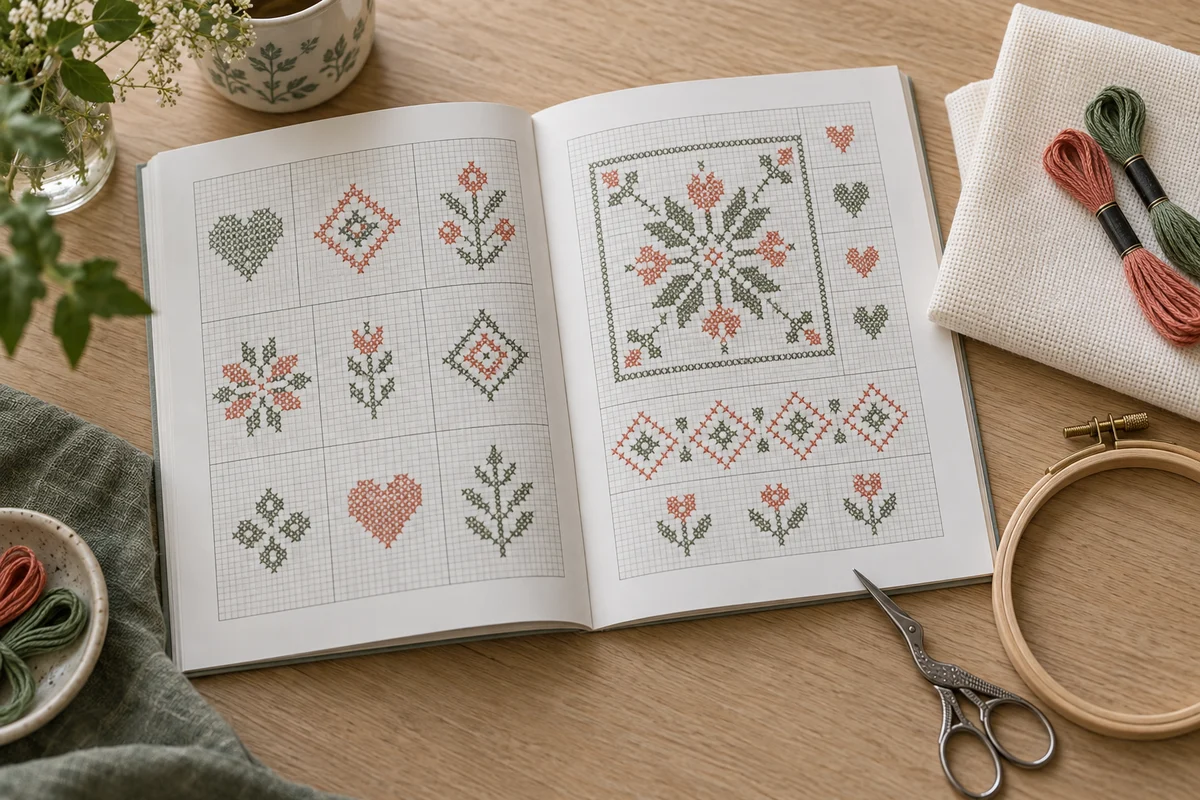
Choose a book for the projects you actually want to stitch
Cross stitch pattern books can offer more than a collection of attractive pictures. A useful book gives you charts you can read, projects you can finish, and ideas you can return to after the first design. Before comparing covers, decide what you want from the next project. A small motif for a card, a traditional sampler, and a large picture ask for different kinds of instructions and different amounts of time.
Write down three practical requirements. For example, you might want mostly full crosses, designs that fit a small frame, and a clear symbol key. Those requirements help you evaluate a book without being distracted by its most elaborate photograph. A beautiful cover design can be appealing while the rest of the collection has little connection to your interests. Look for a book with several realistic possibilities, rather than one image you admire but are unlikely to start.
Consider how you prefer to use patterns. Some stitchers enjoy adapting individual motifs; others want a complete project with materials and finishing directions already specified. A motif library and a project book serve different purposes. Neither format is automatically better, but choosing the wrong one can leave you doing more planning than you expected. Identify whether the book supplies complete instructions or expects you to assemble your own composition.
Make a short project brief
A useful brief names the object, the desired stitched size, the available time, and one skill you want to practise. You might write: a small framed botanical design, roughly five inches wide, worked over several weekends, with a little backstitch. Keep the brief beside you while browsing sample pages. It gives you something concrete to compare against the book's charts instead of relying on a vague promise that the collection is suitable for everyone.
Inspect sample charts before judging the finished photographs
A finished photograph shows the design's appearance, but the chart determines how you will stitch it. Examine a sample at a size close to its printed size if one is available. Can you distinguish the symbols without enlarging the image greatly? Are grid lines clear? Does the chart include heavier reference lines or numbering that helps you count? These details become more important during a long session than a decorative page layout.
Check whether the chart uses symbols, colors, or both. Color can help you see the design, but symbols should remain distinguishable when shades are similar. If you intend to use a permitted personal working copy or a digital viewer, consider how the chart will appear in that format. A colored chart that is comfortable on a large screen may be difficult to follow on a small phone or a grayscale printout.
Look at how the key connects symbols with thread information. Each symbol should have an unambiguous meaning within the project, including any changes in strand count or stitch type. A key that lists a shade number is not enough if the design also uses blends or special stitches without explaining them. Inspect one complicated corner of the sample rather than only the large areas of a single color.
Check page joins in larger designs
A chart that spreads across several pages needs an understandable joining system. Look for reference numbering, overlap notes, or a diagram showing the page arrangement. Do not assume that every repeated strip at a page edge must be stitched twice. Read the book's explanation of overlaps before starting. If preview pages do not show a large chart's joins, treat that aspect as unknown rather than inferring clarity from the cover photograph.
Match the stitch types to your current confidence
Read the materials and technique notes for the projects that interest you. Full crosses are only one possibility. A design may include backstitch, fractional stitches, French knots, beads, or specialty stitches. These can create beautiful details, but their presence affects preparation and the learning curve. A small design with several unfamiliar techniques may require more concentration than a larger chart made almost entirely of full crosses.
Choose one new challenge at a time when you want to build confidence. If you already read counted charts comfortably, a simple design with a little backstitch can be a reasonable next project. If counting is still new, look for a clear small chart before adding several special techniques. The beginner cross stitch guide can help you identify which parts of the basic sequence you already understand and which need practice.
Do not rely only on a difficulty label. Publishers and designers may use different criteria, and a label cannot describe your particular strengths. Inspect the actual chart, stitch key, and instructions. Count the number of colors and notice whether they form broad connected areas or many isolated single stitches. The latter can create frequent starts, stops, and counting checks even when the design is physically small.
Check dimensions, fabric assumptions, and supplies
A book may show a finished size calculated for one fabric count. That is a useful reference, but it does not mean the same chart will have that size on every fabric. Find the stitch dimensions, not just the measurement in inches or centimeters. Divide the stitch width by the effective stitches per inch to estimate the stitched width, then repeat for height. Your fabric cut also needs margins for handling and the finish.
For example, a chart 84 stitches wide measures six inches across when worked at 14 stitches per inch. At 16 stitches per inch, its width becomes 5.25 inches. The chart itself has not changed; the physical scale has. Use the fabric calculator or fabric count converter to compare options before deciding whether a project will fit an existing frame or card opening.
Inspect the supplies list for threads, needles, fabric, embellishments, and finishing materials. Consider what you already own and what you would need to obtain. A book with many inexpensive-looking motifs may still require a broad thread collection if every project uses a different palette. You do not need to buy all the materials for the entire book immediately. Plan one project thoroughly, then assess whether its remaining threads can support another.
Notice assumptions hidden in the instructions
Some books explain fabric preparation and thread handling in detail; others begin with a chart and a brief key. Neither approach is inherently wrong, but the second expects more knowledge from the reader. Check whether the instructions explain starting position, strand count, and finishing where those details matter. If something important is missing from the preview, you may need another reference or a different project to make a confident start.
Compare motif libraries with complete project collections
A motif library is useful when you want to combine flowers, borders, letters, or small objects into an original layout. Check whether the motifs share a compatible scale and visual style. A tiny alphabet and a large border may both be attractive but difficult to combine without redrawing. Look for stitch dimensions, spacing examples, and guidance on arranging motifs if composition is the main reason you are choosing the book.
A complete project collection can reduce some of that planning. It may provide a coordinated palette, a finished layout, and a photograph showing the intended result. Check whether the finishing instructions actually match the object. A picture of a cushion is not the same thing as detailed cushion construction guidance. If you expect sewing directions, backing measurements, or mounting steps, confirm that those are included rather than assuming they accompany every project photograph.
Try a small paper layout before adapting motifs from a book, and follow the pattern's permitted uses. The blank grid designer can help you plan an original arrangement from your own shapes, while the name and alphabet maker is useful for checking the space needed by a name or short date. Keep the distinction between designing your own composition and reproducing someone else's protected chart clear when sharing work.
Evaluate physical and digital formats for your workspace
A physical book lets you browse without a device, but its binding and page size affect how easily it stays open beside your stitching. Think about where it will sit and whether you can read the chart at that distance. A heavy book balanced on a small work surface may be less convenient than you expect. A bookmark or removable page marker can help you return to the project without marking the original chart permanently.
A digital edition can offer zoom and portability, but check its actual format and compatibility before buying. A fixed-layout file and a reflowable reading format can behave differently, especially for charts. Look for an official sample or a description that shows how the grid is presented. Do not assume that every ebook has printable pages, editable charts, or permission to extract images. Those capabilities and permissions depend on the edition and its terms.
Choose a format that supports the way you mark progress. If the pattern permits a personal working copy, that may be convenient for highlighting completed areas while keeping the original clean. If you use a digital annotation tool, test it on a lawful sample first. Make sure the marks remain distinguishable from the symbols and that you can recover your place after closing the file.
Plan a usable reference arrangement
Set the chart, symbol key, and project notes where you can compare them without continually searching. If the key is on another page, use a removable tab to find it quickly. Note the chart's orientation and your current section before packing away. The project progress tracker can record totals and sessions, but it does not replace chart annotations that identify exactly which stitches have been completed.
Keep a project list instead of buying from excitement alone
Before obtaining another book, review the projects you already want to make. List the title or page reference, the approximate stitched dimensions, and any materials you still need. A short list makes overlaps visible. If several existing books already contain the same kind of floral sampler, a new collection may add less practical value than a different subject or a technique reference that helps you finish the work already started.
Estimate time from your own pace rather than from the project's photograph. A small-looking design can contain dense coverage and many color changes. Use the stitching time calculator to explore a schedule once you have a reasonable stitch estimate. Treat the result as planning guidance, especially if the project introduces a technique you have not used before. Leave room for chart review, correction, and finishing instead of allocating every available hour to stitching.
When a book becomes part of your collection, record what you actually used. After completing a project, note which instructions were clear, which details needed another reference, and whether the materials list matched your experience. These observations improve your next selection. You may discover that readable charts matter more to you than a large number of patterns, or that a well-explained small collection gets more use than an impressive but unfamiliar library.
Use patterns responsibly and make the first project manageable
Access to a book gives you its patterns under the applicable terms; it does not automatically authorize distributing scans, uploading charts, or selling copies. Check the publisher's and designer's statements for the use you have in mind. If you cannot find a clear answer about commercial use or sharing, contact the relevant rights holder rather than assuming a purchase removes all restrictions. Keep your own project notes without publishing the complete chart.
Start with a project that answers the most important question about the book. If chart readability was your concern, choose a small design with several symbols and work a representative section. If you bought the book for its finishing instructions, complete one modest object all the way through the finish. A controlled first project gives you useful information without committing immediately to the largest design in the collection.
Prepare the supplies, verify the dimensions, and mark the chart center before stitching. Check any corrections or supplementary instructions published by the book's publisher for your specific edition. Keep those notes with the project so that you do not have to rediscover them later. A good book selection becomes a good stitching experience through this preparation: a readable chart, realistic materials, an achievable schedule, and a project you are pleased to keep working on.
Choose an original chart from our free collection, or check your fabric measurements before you begin.
Free cross stitch patterns · Fabric calculator