
Getting started · 9 MIN READ
How to cross stitch: your first little project
Start with a small chart, a few simple supplies, and a first row of neat crosses.
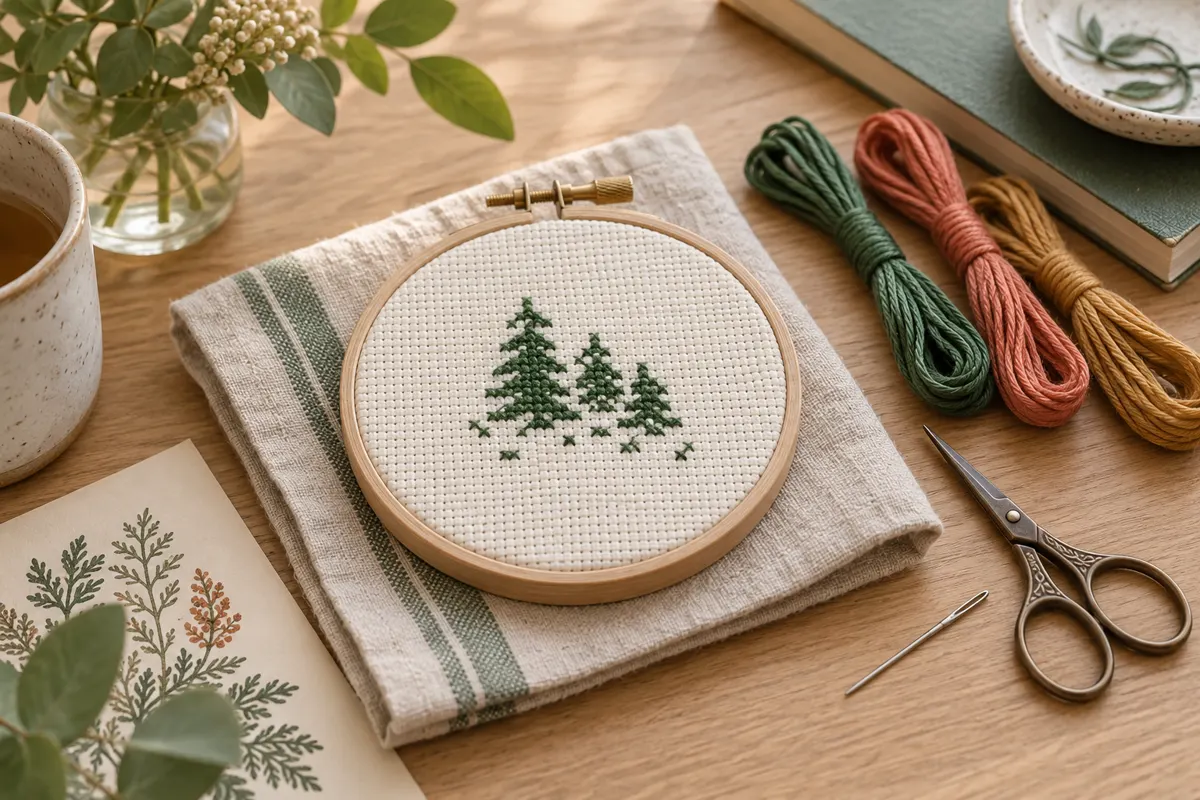
Start with a project you can understand
Cross stitch turns a chart into a picture one small X at a time. You count squares on the chart, find the matching spaces on your fabric and make two diagonal stitches across each square. The challenge is usually keeping your place, rather than learning a complicated movement. A small first project gives you room to practise counting, tension and thread changes without managing hundreds of similar symbols.
Choose a chart with a clear key, a few distinct colors and mostly full crosses. A motif roughly thirty stitches wide is a manageable place to experiment, although stitch count alone does not decide difficulty. A dense photograph with many isolated colors can be harder than a larger geometric design. Our guide to choosing easy cross stitch patterns explains what to look for before you commit.
Read the whole pattern before buying supplies. Check its stitch dimensions, recommended fabric count, number of working strands and any special stitches. A chart might show a white background simply to make the symbols readable; that does not necessarily mean you stitch the background. The key and instructions tell you which squares are worked and which remain bare fabric.
Pick one useful practice goal
For your first piece, choose a simple aim: finish a row with even tension, change colors cleanly or complete a tiny heart. You do not have to master every technique at once. An original chart from the free pattern collection can become a practice sample before you decide whether to frame it or turn it into a card.
Gather a small, sensible set of supplies
You need suitable counted fabric, embroidery thread, a tapestry needle, scissors and the chart. A hoop or frame is helpful because it holds the fabric open, but some stitchers prefer working in the hand. Start with whichever method lets you see the holes clearly without pulling the fabric out of shape. Comfortable lighting is more useful than collecting a large range of accessories. If you are comparing crafts before buying supplies, the cross stitch and needlepoint comparison explains why their fabrics and stitches differ.
Light-colored 14-count Aida is a common beginner choice. Its woven blocks make the holes easy to identify, and fourteen crosses fit into an inch when worked over one block. That count describes the fabric, not the number of strands in your needle. If the terminology feels confusing, read the cross stitch fabric guide before cutting your piece.
A blunt tapestry needle should pass through the fabric holes without forcing them apart. Size 24 is often a useful starting point on 14-count Aida, but comfort and the particular fabric matter. If the needle scrapes, bends or noticeably stretches every hole, reassess the size and thread thickness. Keep spare needles in a closed holder rather than loose on the table.
Separate the thread you actually need
Six-strand cotton embroidery floss is made of six fine strands. Many designs on 14-count Aida use two working strands for full crosses, but follow your chart and test the coverage. Pull one strand out of the cut length while holding the remaining bundle loosely; repeat if needed, then bring the chosen strands together. This helps them lie smoothly instead of twisting as one thick cord.
Measure the fabric before you make a mark
A chart's stitch dimensions are not its finished dimensions in inches. Divide the number of stitches by the effective stitches per inch. A forty-two-stitch-wide motif on 14-count Aida is three inches wide. If it is twenty-eight stitches high, it is two inches high. These measurements describe the stitched picture, before any extra fabric for holding and finishing.
Add your chosen margin on both sides of each dimension. With a three-inch margin, that three-by-two-inch design needs a piece at least nine by eight inches. The appropriate allowance depends on the hoop, frame and eventual finish, so check those requirements rather than cutting exactly to the minimum. The fabric calculator handles the arithmetic and shows inches and centimetres.
Find the center by folding the fabric gently in half in each direction. Do not sharply crease delicate fabric unnecessarily. Find the chart's center arrows, then identify the corresponding square or crossing between squares. Some charts start conveniently near the middle; others provide a corner-based starting method. Either is workable if you account for the margins accurately and double-check the first position.
Count spaces, not just visible holes
A row of five stitches spans five fabric blocks but touches six boundary holes. That distinction is a common source of beginner mistakes. Count from a known stitch, follow the chart grid and check the destination in two directions. If you count across a large blank area, verify the distance a second time before placing a new isolated motif.
Make the first cross slowly
Imagine the corners of a single square. Bring the needle from the back through the lower-left corner and take it down through the upper-right corner. This makes the first diagonal. Come up through the lower-right corner and go down through the upper-left corner to complete the X. You may reverse the order of these diagonals; consistency across the project is what creates a uniform surface.
Pull the thread until it lies against the fabric, then stop. The stitch should sit on the surface without making the fabric pucker or enlarging the corner holes. It should also be snug enough that loose loops do not stand up. When the thread starts twisting, allow the needle to hang briefly and unwind before continuing, keeping it safely above your work area.
You can finish every cross individually, or make a row of lower diagonals and return across it with the upper diagonals. The second method works neatly for connected blocks of one color. It is less useful if the row contains large gaps or changes that make counting awkward. Try both methods on a scrap and choose deliberately instead of switching randomly in the middle of a section.
Keep the top diagonal consistent
Look at several completed crosses under the light. Their upper legs should point the same way. A reversed cross is not a disaster, but a cluster of mixed directions can reflect light unevenly. If you discover one while it is easy to reach, unpick it gently and restitch. This is a useful habit to learn before moving to a detailed project.
Start and finish thread without bulky knots
For an even number of working strands, a traditional loop start can make a tidy beginning. To work with two strands, fold one longer strand in half and put the two cut ends through the needle. Leave the folded loop at the back when you bring the needle up. After making the first diagonal, pass the needle through that loop and tighten gently. The loop start tutorial discusses when this method is suitable.
A loop start is not automatically the right choice for every thread or chart. Folding a variegated strand can change the intended sequence of colors, and a blended two-color stitch cannot be formed by folding a single color. Another option is to leave a short tail on the reverse and trap it under several stitches as you work, checking that it is actually secured.
To finish a thread, slide the needle under several nearby stitches on the back without piercing the front. Trim the remaining tail close enough to stay tidy, but do not cut into the stitches holding it. Avoid finishing with a bulky knot that may show through a flat mounting. When there are no nearby stitches to anchor under, consult a suitable start or finish method rather than improvising a long loose carry.
Read the chart in small sections
A symbol identifies a thread color or stitch type; it is not the stitch itself. Match the symbol to the key before threading the needle, especially when two colors are close. Stronger chart lines commonly divide the design into ten-square blocks. Use those blocks as checkpoints, while remembering that the chart instructions determine whether a different grid system is in use.
Mark completed stitches on a working copy you are permitted to annotate. If you use a digital chart, check whether highlighting changes the file or is only temporary. Keep the original available so an accidental mark does not become a counting instruction. For larger designs, the gridding guide explains how removable fabric guides can support your counting.
Before starting a fresh section, compare its first stitch with two already completed features. For example, the new leaf may begin three columns to the right of the stem and two rows above its end. This cross-check catches an error that a single horizontal count could miss. Work in a comfortable area rather than chasing every occurrence of one color across the entire chart.
Stop at a place you can recognize
A good stopping point is the end of a row, a complete small motif or a clearly marked chart block. Write down the current color and next starting position if you expect a long break. Putting the needle through spare fabric outside the design can help you locate it, but remove it before storing the work for an extended period.
Fix mistakes while keeping the fabric intact
If a stitch is in the wrong place, reverse the path with the needle when practical. Cut thread only when necessary, and protect the fabric beneath it. Tugging hard to remove several stitches at once can damage the weave or pull correctly placed stitches out of alignment. Work slowly enough that you can see what each thread is doing.
Check the consequence before deciding how much to remove. A misplaced stitch at the edge of an isolated practice heart may affect only that outline. A shifted stitch that anchors later counting can move an entire section. The more subsequent work depends on it, the more valuable an early correction becomes. Avoid silently adjusting the next section unless you understand how the complete design will change.
If your thread repeatedly knots, shorten the working length and separate the strands again. If the fabric puckers, loosen your pull and check whether the hoop is distorting the weave. If coverage looks thin, compare the strand count with the pattern instructions before adding more. Different problems need different fixes, so changing everything at once makes it harder to learn what helped.
Finish, record and choose the next project
Before washing a completed piece, check the care instructions for every material, including hand-dyed floss, metallic thread and the fabric. Colorfastness can vary. A small test away from the finished design is safer than assuming all embroidery can be treated the same way. Let suitable washed work dry properly and press according to the fabric and thread requirements, usually protecting raised stitches from direct pressure.
Write down the fabric count, thread choices and any changes you made. These notes make the next project easier and help explain why two similar charts look different. A photograph of the finished work is a useful record, but it should not replace the chart or your material labels if you may need to repair the piece later.
Choose one new challenge for the next chart: another color, a slightly larger motif or a little backstitch. When you are ready to display your first finish, the framing guide covers centering, support and spacing. Finishing a modest project with care teaches more transferable skills than rushing into a large design before the basic movements feel comfortable.
Choose an original chart from our free collection, or check your fabric measurements before you begin.
Free cross stitch patterns · Fabric calculator