
Patterns · 8 MIN READ
How to choose easy cross stitch patterns
Small is a good start. Simple color changes and a clear chart make it even better.
What makes a pattern easy to stitch?
An easy cross stitch pattern gives you clear decisions at every stage. You can recognize the symbols, follow the color key and check your position without guessing. Its difficulty depends on the kind of work inside the design, rather than its physical size alone. A large outline with a few connected colors may be easier than a tiny portrait made from dozens of scattered shades.
Start by looking at the actual chart instead of judging only the finished photograph. Count the colors, inspect the smallest details and identify special stitches. Look for a stitch width and height, a readable legend and material instructions. If a listing only shows a finished picture, ask for a sample of the chart or a clear description before buying. An attractive image cannot tell you whether its instructions are usable.
Think about the skill you want to practise. A first project might teach consistent crosses and basic counting. A second might introduce one line of backstitch or a simple color change. Choosing a focused challenge makes it easier to see progress and diagnose mistakes. The beginner cross stitch guide explains the basic movements before you start evaluating more complicated designs.
Separate size from workload
A design thirty stitches wide and thirty stitches high has a bounding box of nine hundred squares, but that does not mean you will stitch nine hundred crosses. An open heart outline might use only a fraction of those squares. A fully filled design uses much more thread and time. Check whether the background is stitched or left as fabric; this often changes the practical workload considerably.
Inspect the chart before choosing supplies
A good beginner chart distinguishes symbols clearly even when printed in black and white. Two nearly identical marks can be difficult to follow when the thread colors are similar. Enlarge a small section until you can read the symbols comfortably, then check that the key remains available. A chart printed on several pages should indicate how the pages join and whether any rows are repeated for alignment.
Look for stronger lines or numbering that organize the design into countable blocks. Ten-square divisions are common, but read the instructions instead of assuming every chart uses the same layout. Check the center indicators and how blank squares are represented. A blank square generally means no stitch unless the key says otherwise; white paper behind a symbol is simply part of the chart presentation.
Read the material list as a whole. Fabric count, working strands and stitch types belong together. If the chart recommends two strands for full crosses and one for outlining, label those instructions separately in your notes. Before changing the suggested fabric, calculate the resulting size using the fabric calculator, including enough allowance for holding and finishing the piece.
Choose a format you can comfortably follow
Some stitchers prefer a printed chart they can mark with a pencil. Others prefer zooming on a screen. Try reading a sample in the format you intend to use during stitching. If the key is on another screen or page, keep a copy nearby. A tool that makes reading comfortable is useful; one that requires repeated scrolling or hides the next row can make a simple project frustrating.
Prefer connected shapes and distinct colors
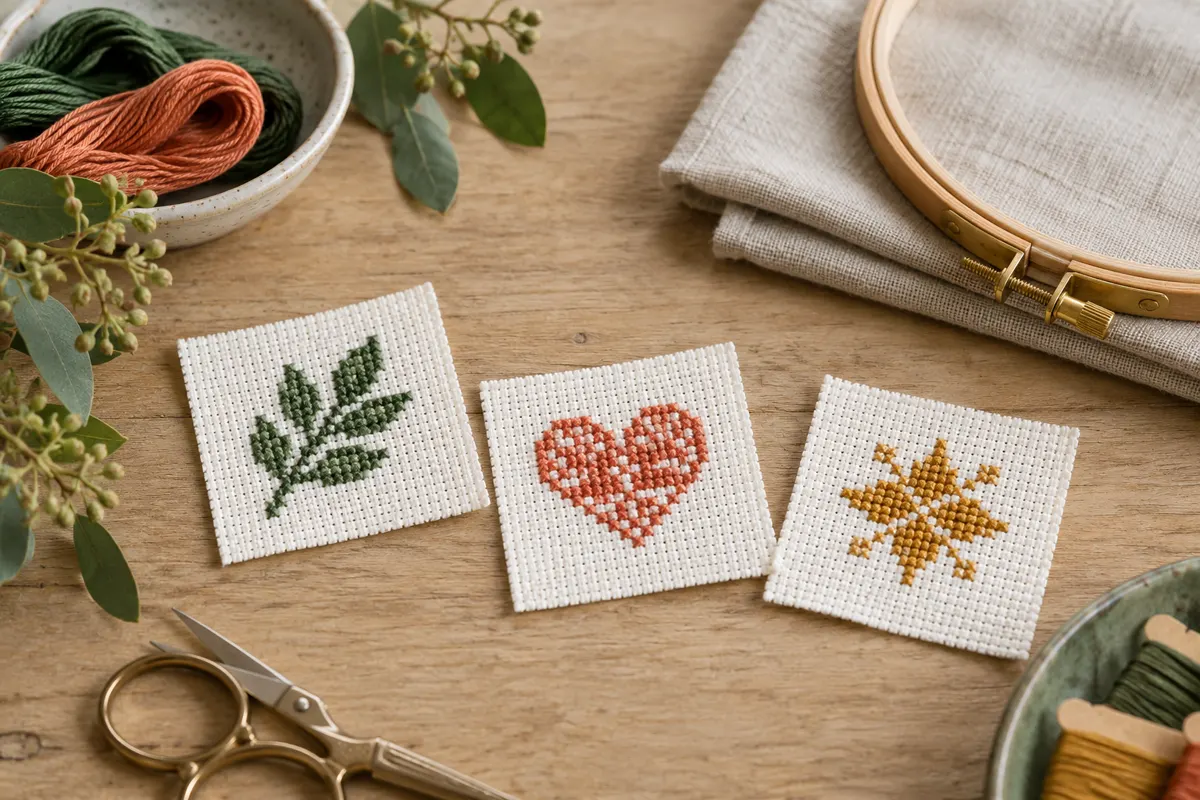
Connected areas give you reliable reference points. A solid leaf lets you check each row against the one below, while a row of widely separated dots requires repeated counts across empty fabric. Neither structure is inherently wrong, but connected motifs usually make a kinder first lesson. Look for shapes with an obvious edge and a limited number of isolated stitches.
Choose colors that are easy to distinguish under your normal work light. A beginner chart with four visibly different shades is often easier to organize than a design with four nearly identical beige tones. Keep the original thread labels with each color. Your memory of which green looked darker in daylight may not be dependable during an evening session.
If you want to change a palette, preserve enough contrast to keep the design readable. A dark stem against light fabric will remain visible; a pale stem may disappear even if it looked attractive on screen. Stitch a few test crosses with your intended thread and fabric before substituting every color. The palette extractor can suggest RGB colors from an image, but those suggestions are not exact embroidery thread matches.
Check special stitches and outlining
For a first counted project, a chart made entirely of full crosses limits the number of techniques you need to learn. Backstitch adds fine outlines and lettering, often after the crosses are complete. Fractional stitches can smooth curves by occupying part of a square. These techniques are manageable, but their presence should be an intentional choice rather than a surprise discovered halfway through.
Look for lines crossing squares diagonally or ending between ordinary fabric holes. The pattern key should explain them. Aida's woven blocks are easy to count for full crosses, while some fractional placements require entering the middle of a block. If that feels awkward, practise on a scrap or choose another chart until you are comfortable with the fabric.
A simple border with a few backstitch accents can be a useful second project. A very small face that relies on fractional stitches for every feature may require more attention than its dimensions suggest. Read the backstitch and fractional stitch guide to understand what the chart is asking before deciding whether it suits your current experience.
Metallic thread adds another variable
A pattern may have few colors yet use specialty thread that behaves differently from stranded cotton. Metallics can be more prone to twisting or abrasion, and some decorative threads have specific handling instructions. For an early practice piece, ordinary cotton lets you concentrate on counting and tension. If you choose a specialty thread, follow its manufacturer's guidance and test it before committing to a large area.
Match the pattern to its final use
The finish affects which pattern is practical. A bookmark needs a narrow layout and a construction method that protects its edges. A framed sampler needs generous fabric margins. A greeting card needs a motif that fits the opening of the card. Decide on the intended use before cutting fabric, because a completed design cannot gain extra margin afterward.
Our original free charts are a small place to start with recognizable motifs. Check the dimensions and download the actual chart before choosing fabric. You may use a practice motif as a sample without immediately turning it into a polished gift. Keeping the first piece as a reference can show you how your tension and stitch consistency improve over time.
For a personalized design, a short name can be easier than a photograph. The name and alphabet maker creates a counted layout you can inspect before stitching. Keep the lettering large enough that neighboring letters remain distinct, and check the complete phrase for spelling and spacing. A long sentence with many narrow letters can become harder to count than a compact decorative motif.
Estimate time with your own stitching pace
Do not rely on a promised one-hour finish unless it matches your experience and includes preparation. Stitching time varies with counting, thread changes, outlining and how often you pause. Measure a short session on a similar motif: record the completed crosses and elapsed minutes, including ordinary counting. This gives you a more useful planning rate than comparing yourself with another stitcher.
Use the stitching time calculator to explore a realistic schedule. If a sample of one hundred crosses takes forty minutes, a filled eight-hundred-cross design requires several sessions at that pace, plus any finishing work. The arithmetic is only an estimate. Scattered colors, difficult lighting or special stitches can make another section slower, even within the same design.
Allow extra time for a gift deadline. Cutting fabric, preparing thread, checking mistakes and making the final finish all take effort outside the cross count. Choose a smaller chart if the deadline is close. A simple piece finished carefully is usually a more satisfying gift than an ambitious design rushed through its last rows and mounted before it is ready. For a seasonal project, our small Christmas ornament guide shows how backing and hanging loops affect the fabric you need.
Plan a small practice project from start to finish
Imagine choosing a twenty-eight by twenty-eight stitch geometric motif on 14-count Aida. Its stitched area is two inches square. If you allow two inches on every side for your chosen small finish, you need a piece at least six inches square. Your actual mounting or hoop requirements may call for more, so confirm those before cutting.
Prepare a working copy of the chart, sort its colors and find the center. Stitch a small connected section first, then compare it with the chart before continuing. Use two already completed points to check a new section rather than counting from a single distant reference. A few careful checks at the beginning protect the rest of the project from an unnoticed shift.
Keep a short project note with the fabric, thread substitutions and any intentional changes. Record where you stop if you expect a break. The project tracker can store counts in this browser and export a backup, but it does not mark individual chart squares. Your chart markings and material notes still provide the location information needed to resume accurately.
Review the finished sample before moving on
Look for an even top-diagonal direction, comfortable tension and secure thread ends. The reverse does not have to be decorative, but long loose carries can catch or show through light fabric. Pick one habit to improve on the next chart. If counting felt difficult, another connected motif is useful; if the basics felt comfortable, add a modest amount of outlining.
Find designs you have permission to use
A free download is not automatically free of restrictions. Read the pattern's license to understand whether you can print it, share the file or sell finished stitched items. Permission for a hand-stitched finish is different from permission to resell a digital chart. Keep the license or original source link with your project notes, especially if you plan to make gifts or items for sale.
Use original designs and authorized patterns rather than copying a protected character or a designer's chart from an unlicensed image. A simple heart, star or geometric border gives you many ways to personalize color and layout. Our pattern license explains the permissions for the original charts published here. When another designer supplies the pattern, that designer's terms apply.
Build confidence through a sequence of manageable choices: a readable chart, suitable fabric, distinct colors and one new technique at a time. The pattern that is easiest for you is the one whose instructions and workload fit your current skills, materials and available sessions. After finishing, use your notes to choose the next challenge with evidence from your own stitching rather than the size of the picture alone.
Choose an original chart from our free collection, or check your fabric measurements before you begin.
Free cross stitch patterns · Fabric calculator