
Techniques · 9 MIN READ
25-count cross stitch fabric: understand over-one and over-two
Calculate over-one and over-two sizes on 25-count evenweave, sample thread coverage and plan margins before cutting.
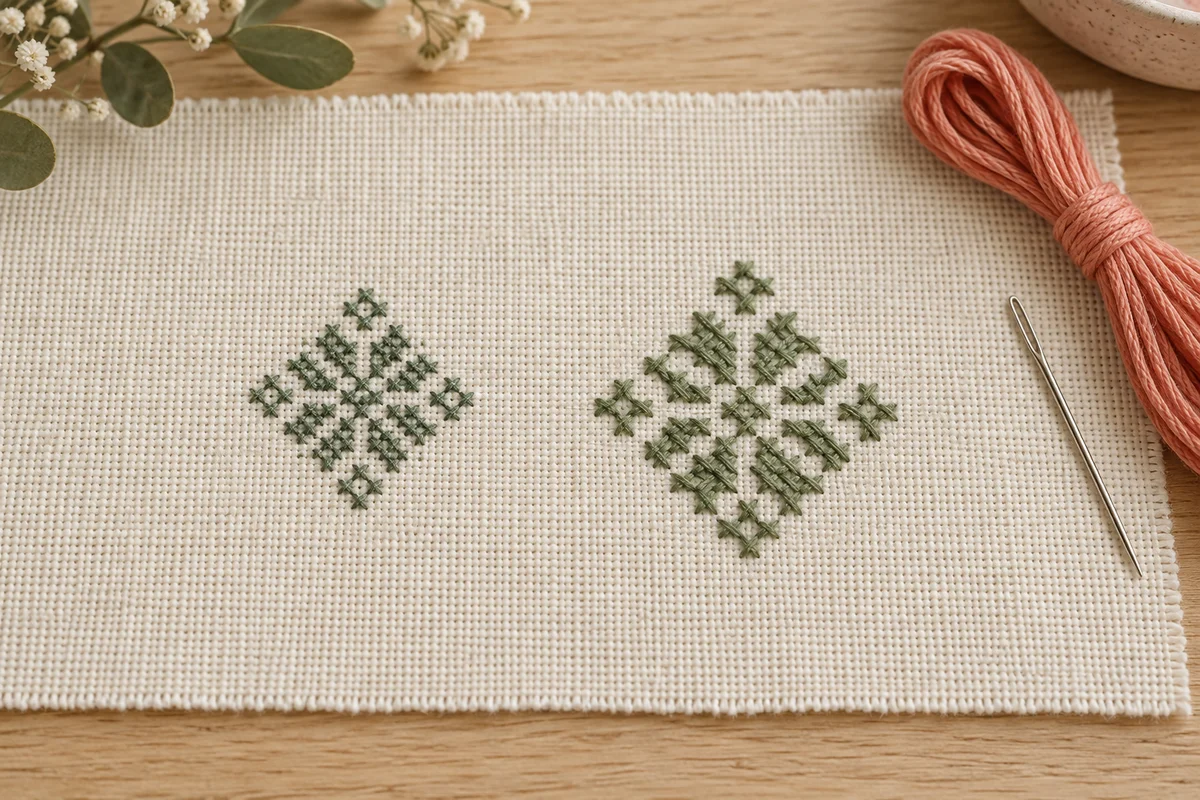
Read the fabric count together with the stitch instructions
25-count cross stitch fabric can produce very different finished sizes depending on how the chart is worked. On an evenweave labeled 25 threads per inch, a cross spanning one fabric thread gives 25 crosses per inch. A cross spanning two fabric threads gives 12.5 crosses per inch. Both use the same cloth, but their stitches occupy different amounts of space. The number on the label is only part of the sizing decision.
Find the pattern's instruction for working over one or over two before buying or cutting fabric. Do not infer the intended method from the fabric count alone. A detailed picture might specify over-one work, while another chart uses larger over-two crosses on the same count. The strand count is a separate instruction: one strand over two fabric threads is not the same thing as two strands over one fabric thread.
Write the complete setup in your notes. Include the fabric count, the number of fabric threads spanned by each cross, the number of floss strands, and the stitch type. A note that says only "25 count, two threads" is ambiguous because the word threads could describe either the cloth or the floss. Clear notation prevents confusion when returning to a project or comparing it with a different chart.
Translate the instruction into effective stitch count
Use this calculation for a regular evenweave: effective crosses per inch equals fabric threads per inch divided by the fabric threads spanned by one cross. For 25 count over one, calculate 25 divided by 1. For 25 count over two, calculate 25 divided by 2. Keep the result as 12.5 rather than rounding to 12 or 13, because rounding introduces sizing errors that become more noticeable across a large design.
Calculate the embroidery before planning the fabric cut
Take a chart 100 stitches wide and 125 stitches high. At 25 crosses per inch, it measures 4 inches by 5 inches. At 12.5 crosses per inch, it measures 8 inches by 10 inches. The same chart becomes twice as wide and twice as high when the stitch span doubles. Its area becomes four times as large, even though the chart still contains the same number of symbols.
Use the fabric count converter to compare stitch scales and the fabric calculator to plan the cloth with margins. Check which input the tool expects and enter the effective stitches per inch where appropriate. Entering 25 as though it were the effective count for an over-two design would produce a fabric estimate far too small for that stitching method.
Keep embroidery dimensions separate from the cut dimensions. Add the fabric allowance required for holding, mounting, backing, or sewing the finished object. A 4-by-5-inch stitched design does not imply a 4-by-5-inch fabric cut. Test the intended frame or card opening against a paper mock-up of the calculated embroidery. Include blank space around the motif when you decide whether the final display will look balanced.
Measure in both directions
Check width and height independently. Do not assume a square chart automatically becomes a perfectly square finished object if the actual material or handling introduces variation. Measure the cloth's regularity and inspect its alignment before committing to a demanding project. Keep the weave straight in the working support, and avoid pulling one direction more strongly than the other when adjusting tension.
Recognize the fabric structure before placing a stitch
Evenweave has individual threads that form a regular counting surface. Aida groups threads into blocks with clearly defined holes between them. The counting habits you learned on Aida need a deliberate adjustment when moving to an individual-thread weave. Look closely at the fabric, identify the repeated structure, and practise finding the next hole before working a chart whose position depends on that count.
For over-two work, each full cross spans two fabric threads horizontally and two vertically. The holes within that span remain part of the fabric; they are not separate chart squares in the over-two system. For over-one work, the span is smaller. On the same material, these two methods create different grids for translating chart positions. Keep the chosen grid consistent throughout an area unless the pattern explicitly calls for a change.
Use a small spare piece to practise. Make a short row, then compare each cross with the cloth's threads. Count the span at the beginning and end of the row. If your crosses unintentionally alternate between different widths, stop and review how you are locating their corners. A brief exercise can reveal this problem before it spreads into a carefully centered design.
Choose thread coverage through a sample
Follow the chart's specified strand count as your starting point, then evaluate the appearance on the intended fabric. There is no universal strand count that suits every 25-count project. Over-one full crosses, over-two full crosses, and another stitch type have different space and coverage requirements. Thread material, color, and the desired amount of visible cloth also influence the result.
Stitch a sample using an important dark shade and an important light shade from the project. Compare the crosses under the lighting in which you normally work and at the distance from which the finish will be viewed. Check both coverage and bulk. A combination that hides the fabric completely may also crowd the holes or make later stitches harder to place. A lighter combination may deliberately allow some cloth to show.
Avoid increasing strand count only because a zoomed photograph shows tiny gaps. Magnification can make normal spaces appear larger than they look in the finished piece. Judge the actual sample, and consider what the pattern intends. If you change the specified combination, record the change and test a representative color junction rather than evaluating only an isolated row of one shade.
Check intersecting colors and the back
A crowded area can behave differently from a simple test strip. Sample a small block where two colors meet and inspect how easy it is to place the final crosses. Look at the back for unnecessary bulk or long carries. Coverage is not the only criterion; the setup should also let you maintain clear holes, consistent stitch direction, and secure thread endings without distorting the surface.
Prepare the cloth and working support thoughtfully
Read the fabric maker's care information before washing, gridding, or pressing. A fabric with removable manufactured grid lines has instructions that differ from plain cloth. Do not assume that a treatment used successfully on another material applies to this one. Keep the product details with your project notes, especially if you plan to remove a grid after stitching or use specialty threads with their own care requirements.
Protect the edges using a method suitable for your cloth and final construction. Leave enough margin for the working support and the chosen finish. Fit the fabric evenly rather than stretching it hard to make the holes easier to see. A hoop or frame should hold a useful working area open while the weave retains its normal alignment. Recheck the cloth after repositioning, especially near completed stitches.
If using removable gridding thread or a fabric marker, confirm its suitability and follow its instructions. A grid is a reference, not a substitute for verifying the chart's center and stitch span. Count what one grid interval represents in your chosen over-one or over-two method. The same distance across fabric threads corresponds to different numbers of crosses in those two systems.
Establish a starting point and verify the first section
Locate the chart center and fabric center, or use another measured starting method appropriate for the project. Count both horizontal and vertical distances before placing a first stitch away from the center. Check the planned outer boundaries against the available cloth. This is particularly important when a design's published dimensions were calculated for a different stitching method or count than the one you intend to use.
Work a small confirmed section and compare it with the chart before moving outward. Keep the top diagonals consistent and let the thread rest on the fabric without pulling crosses into dents. On a fine counting surface, it can be tempting to tighten thread aggressively so it looks neat, but distortion creates a different problem. Adjust placement and handling rather than treating force as a substitute for control.
The beginner cross stitch guide explains basic chart reading and cross construction. Apply those fundamentals while keeping the evenweave's specific span in mind. Count from a reliable completed feature when starting the next area. An uncertain edge can spread a positioning error, while a confirmed reference gives you a useful place to check the new stitches.
Record the current setup when pausing
Note the active color, the completed section, and the stitch method before packing away. Keep the fabric and thread labels readable. The project progress tracker can record totals and sessions, but chart markings still identify the exact squares completed. A clear project note is especially helpful if you also have another project using a different span on a similar-looking fabric.
Compare alternatives without changing the chart accidentally
When substituting fabric, compare effective stitch counts rather than fabric labels alone. A 25-count over-two setup produces 12.5 crosses per inch, which does not match 14-count Aida exactly. The chart's symbol arrangement can remain unchanged, but the physical dimensions and possibly the thread quantities change. Recalculate both dimensions and review the finish instead of assuming a near match has no practical effect.
Check embellishments and mixed techniques before making a substitution. Beads, buttons, fractional details, and sections stitched over a different span may depend on the intended scale. A bead that suits one setup can look disproportionately large on another. If the chart has several stitch types, examine their instructions individually and ask the designer about an uncertain substitution rather than applying one blanket conversion to every element.
Consider your preferred working view as well as the finished size. A smaller effective stitch scale can preserve a detailed chart in a compact physical area, but it also makes each cross smaller. Choose a setup you can see and handle comfortably with your usual lighting and support. The most compact possible result is not automatically the best choice for your enjoyment or for the object's intended use.
Finish with measurements and useful notes
Check the embroidery's completed width and height before final mounting or cutting. Compare the visual center with the geometric center and leave appropriate space around the design. The framing guide offers considerations for support and alignment when a flat display suits the project. A careful fabric calculation helps at the start, but the actual finished object deserves its own measured check.
Keep a record of the fabric product, effective stitch count, span, strand count, palette, and care instructions followed. Add the sample results and any substitutions. These details make it easier to repeat the setup or understand why another piece stitched from the same chart has a different size. The essential habit is to treat 25 count as a fabric description, then define how your stitches use that fabric before planning the rest of the project.
Choose an original chart from our free collection, or check your fabric measurements before you begin.
Free cross stitch patterns · Fabric calculator