
Finishing · 8 MIN READ
How to frame cross stitch neatly
Prepare, center and mount your finished stitching without pulling it out of shape.
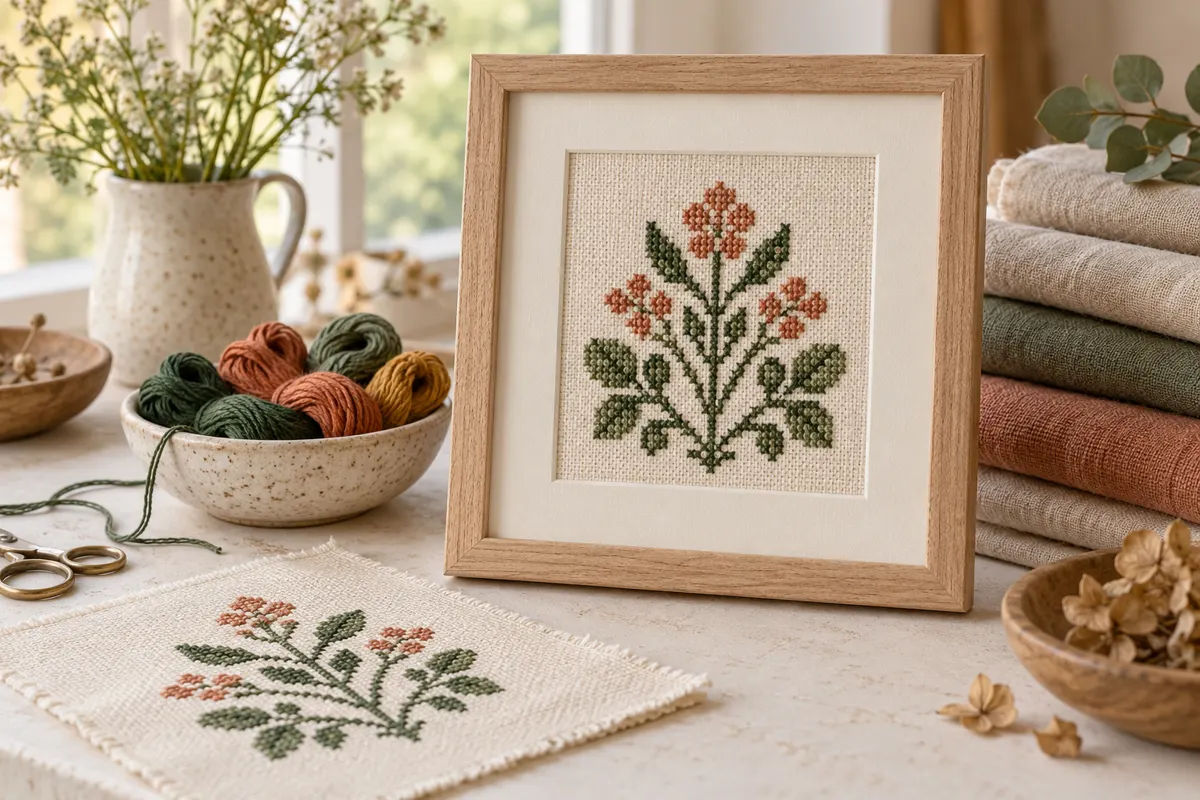
Plan the frame around the finished stitching
Framing starts with the actual piece in your hands: its stitched dimensions, remaining fabric, thickness and intended appearance. A chart's predicted size is useful during planning, but measure the completed work before choosing the final frame and mount. Your fabric count, tension and material preparation can affect the practical fit. Keep the design centered and visible without forcing the fabric to match a frame purchased too early.
Decide how much background you want around the motif. A compact heart may look balanced with a small visible border, while a sampler can need more breathing space around its outer stitches. Sketch a few options on paper before cutting a mount. Use a photograph for comparing layouts if helpful, but confirm dimensions with the physical embroidery rather than measuring the picture on a screen.
For a future project, calculate margins before stitching. The fabric calculator converts chart dimensions and adds your chosen allowance. That allowance needs to fit the holding and mounting method you plan to use, not just the visible border. If the current piece has little spare fabric, choose a finish that respects that limitation instead of trimming the last usable margin in pursuit of a particular frame size.
Review the piece before mounting it
Inspect the front for missing crosses, misplaced outlining and loose ends. Compare it with the chart while both are still easy to handle. Check any personalized lettering carefully: a spelling error is much easier to fix before the fabric is mounted. Look along the outermost stitches to see whether the planned border will reveal or hide the intended edge of the design.
Turn the work over and check the thread finishes. Remove loose snippets that are resting on the surface, taking care not to cut the embroidery itself. Long carries behind bare fabric may show through under a pale mount or strong light. Assess those areas now. The needle and thread guide describes secure thread endings and why excess bulk can affect a flat finish.
Remove any temporary counting guides using the tested method for their material. Do not assume they will become invisible merely because the piece is placed behind glass. Our gridding guide explains checking guide removal before finishing. If a mark remains or the material reacts unexpectedly, pause and assess the problem before enclosing it in a frame.
Photograph the completed work before covering the reverse
Take a record of the front and the back after the final checks. Write down the fabric, thread substitutions, completion date and any care restrictions. These notes can help if the piece is remounted later. A project record is particularly useful for a gift because the recipient may not have the original chart or material packaging when deciding how to care for it.
Prepare the materials according to their care instructions
Washing and pressing are not automatic requirements for every embroidery. Check the fabric and every thread type, including hand-dyed, metallic or decorative materials, before choosing a treatment. If you intend to wash a modern washable piece, test the relevant materials and follow their care instructions. Avoid turning a general finishing habit into a rule for a piece whose materials behave differently.
Do not experiment with cleaning an old, fragile or valuable textile as though it were a new cotton practice sample. The Canadian Conservation Institute's guidance on framing embroideries and flat textiles recommends professional assessment for textiles with condition problems. Its conservation approach also emphasizes stable mounting materials and support appropriate to the textile. Use that guidance when preservation is a priority and discuss the actual piece with a qualified specialist.
Allow any appropriately cleaned work to dry fully before enclosing it. If pressing is suitable, use the temperature and protection required by the materials, and avoid flattening raised stitches unnecessarily. Practise on a sample when you are unsure how the weave or thread responds. The goal is a clean, even piece ready for its chosen finish, rather than a surface forced flat regardless of its texture.
Measure the design, visible border and frame opening
Measure from the outside edge of the outermost intended stitches in both directions. Then add the visible background you want around them. A four-by-three-inch stitched motif with a half-inch visible border on every side needs an opening that shows five by four inches. This is the visible layout, not the total support size or the complete fabric piece needed behind the mount.
If you use a window mat, its opening should reveal the design and intended background while its outer dimensions fit the frame. A frame's visible opening can be smaller than its nominal insert size because the frame edge overlaps the contents. Check the actual dimensions and depth rather than relying only on the packaging name. Make a paper template to compare with the embroidery before ordering a custom cut.
Consider whether the design itself is symmetrical. Centering the fabric piece by its cut edges does not necessarily center the stitched motif. A picture may also feel visually off-center even when its bounding box is mathematically centered. Begin with measured placement, then inspect it from a normal viewing distance. Adjust only with enough fabric remaining to support the final position comfortably.
Keep an orientation note
Mark the intended top on a removable note or your project record. This helps when you turn the piece over during mounting and prevents the support or hanging hardware from being arranged for the wrong direction. For rectangular motifs and lettering, orientation matters at every measurement stage. Check it again before closing the frame, particularly if the backing looks similar from both directions.
Choose a mounting approach for the actual piece
For a modern, sturdy practice piece, a removable mounting method can make later adjustment easier than permanently attaching the fabric to an adhesive surface. Some stitchers use lacing around a suitable support, while other textile mounting methods use carefully placed support stitches. Choose an approach appropriate to the fabric, available margins and intended display. Valuable, delicate or unusual textiles deserve advice specific to their condition.
If you use lacing on a suitable new piece, place the design first and fold the spare fabric around the support without sharply dragging it across the stitching. Work gradually from opposite sides rather than pulling one edge tight and treating the others as an afterthought. Aim for even positioning and moderate tension. Check the front repeatedly while adjustments are still easy to make.
Do not make the board or support larger than the available fabric can comfortably cover. A piece with narrow margins may need a different support arrangement or a smaller visible border. Avoid cutting away useful fabric until the fit and mounting method are confirmed. When in doubt, practise the folds and positioning with a plain scrap of similar thickness before handling the completed embroidery.
Check straightness without stretching the weave
Use the fabric's grid as a reference when the weave is visible. Compare several horizontal and vertical rows with the edges of the opening rather than lining up only one corner. A piece can look straight at the top while slanting near the bottom. Make small adjustments and inspect the whole design after each change so you do not correct one edge by distorting another.
If the fabric is heavily distorted, forcing it onto a rectangular support may hide the symptom without addressing the cause. Consider how the piece was prepared and whether a material-appropriate adjustment is possible. Do not treat every wrinkle or skew as something to solve by pulling harder. Test any preparation method on a sample or seek specialist advice when the piece's condition makes the outcome uncertain.
Look at the mounted work from the distance where it will normally be seen. Check the border widths, major lines and lettering baseline. Then inspect close up for puckering around corners or stitches. A combination of measured checks and ordinary viewing gives a more useful assessment than judging everything from one tightly cropped photograph.
Assemble the frame only after a trial fit
Place the mounted piece and mat into the frame for a trial fit before closing the backing. Check that the embroidery is visible, the stack fits the frame depth and nothing presses awkwardly against raised thread. If glazing is used, plan appropriate separation for the stitched surface rather than flattening the texture against it. A framer can help choose materials and depth for the actual thickness of the work.
Clean the glazing and check for dust or loose fibers while the frame is open. Keep cleaning products away from the fabric, and allow surfaces to be ready before bringing the embroidery into contact with the assembly. Inspect from several angles for a trapped thread clipping or visible mark. Taking another minute at this stage is easier than reopening a completed frame after it is hung.
Confirm that the backing and hanging hardware are suitable for the frame's weight and construction. Follow the frame manufacturer's instructions rather than improvising hardware from an unrelated small object. If the stack is too thick, choose a deeper frame or another suitable arrangement. Do not force the backing shut in a way that puts pressure on the embroidery or prevents the frame from securing properly.
Give a gift with its care information
Include a short note identifying the materials and any tested care restrictions. Explain if the mount is intended to be removable and keep the original chart or license information separately. A gift recipient may know how to dust a frame but not how to handle the textile inside. Specific notes from your project are more useful than a generic promise that all embroidery can be washed.
Choose a display location and review it over time
Think about the location as part of the finish. A frame that looks appealing on a sunny windowsill may expose the textile differently from a wall away from direct light. A damp or frequently splashed area creates another kind of problem. Choose a stable indoor setting suitable for the materials, and check the piece periodically rather than assuming the frame makes it immune to its surroundings.
If you notice fading, moisture, a slipping mount or a change in the fabric, inspect the cause before continuing to display it in the same way. Keep the project notes so you can identify what was used. For a preservation-sensitive textile, consult the linked conservation guidance and a specialist rather than attempting an untested repair. For an ordinary modern craft piece, a removable finish can make adjustments more practical.
Start with a small motif from the original chart collection if you want to practise both stitching and mounting. A modest piece lets you learn how margins, centering and frame depth work together. Once the finish feels comfortable, use the same measured planning for a larger sampler or a design from the name maker, adapting the support and layout to the actual completed embroidery.
Choose an original chart from our free collection, or check your fabric measurements before you begin.
Free cross stitch patterns · Fabric calculator