
Getting started · 8 MIN READ
Beginner cross stitch kits: check the contents before you start
Check kit contents, chart readability, fabric dimensions and finishing supplies before starting a manageable first project.
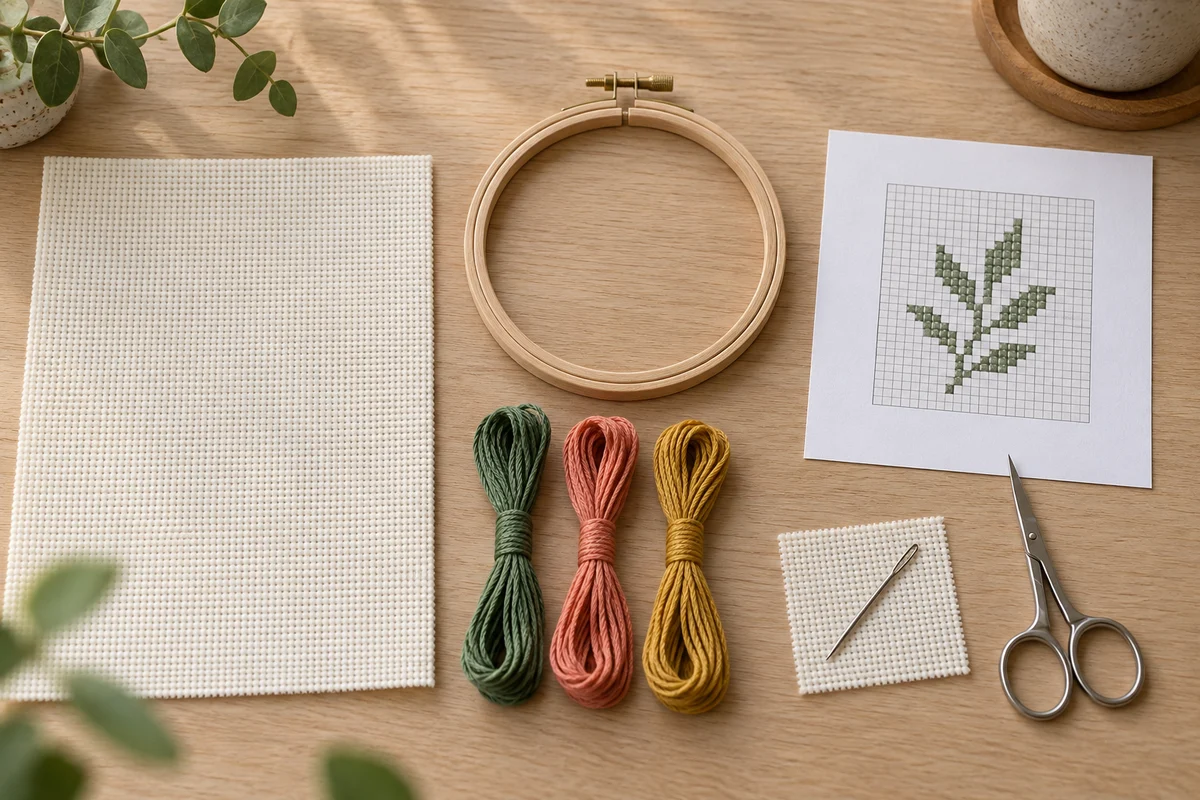
Choose a first kit by its instructions and chart
A beginner cross stitch kit is useful when it brings the main supplies and instructions together for one manageable project. The finished photograph is only part of the decision. A clear chart, an understandable thread key, and a realistic finishing plan matter just as much. Start by deciding what you want to make, then inspect how the kit helps you complete that particular object.
Choose a project you like enough to keep working on, but keep the first challenge controlled. A small leaf, heart, house, or simple geometric sampler can teach counting and consistent crosses without requiring a large thread collection. Small dimensions alone do not guarantee simplicity. A tiny picture with many isolated colors can be harder to follow than a somewhat larger motif made from connected areas of three distinct shades.
Find out whether the kit is counted or stamped. A counted kit normally uses a separate chart to guide placement on fabric, while a stamped kit places a guide on the cloth. Both require an understandable key and stitch instructions, but their preparation can differ. Do not wash a printed guide away before using it or assume that a counted chart's positioning method applies unchanged to every stamped product.
Write a simple project brief
List the intended object, one skill you want to learn, and the amount of time you can comfortably spend. You might want a small framed piece worked mostly in full crosses over several short sessions. Keep that brief beside the kit description. It helps you compare the actual contents and instructions with your goal instead of choosing a package because its cover looks easy or its label promises suitability for everyone.
Check exactly what the kit includes
Read the contents list for fabric, thread, needle, chart, and written instructions. Check whether a hoop, frame, card blank, backing, or other finishing component is included. A photograph can show a finished object made with accessories that are not inside the package. Treat the written contents list as the starting point and ask the seller or maker when an important item is unclear.
Look at the thread arrangement. Pre-sorted threads can make a first project easier to organize, but labels still need to match the chart key clearly. If threads are supplied loose, expect to spend time sorting them before stitching. Similar shades are difficult to identify after they have become mixed. Keep the original labels and make your own notes while the relationship between each shade and the key is still clear.
Check the fabric dimensions and count if provided. The cloth should allow the planned embroidery plus appropriate handling and finishing margins. Do not trim it immediately to match the picture on the cover. A generous-looking border can be necessary when mounting or backing the final piece. The fabric calculator helps distinguish the stitched area from the fabric cut when the chart dimensions are available.
Inspect the chart at a readable size
If the maker provides a sample, view it near the size you expect to use while stitching. Can you distinguish the symbols? Are grid references clear? Does the key explain each symbol and any special instructions? A beautiful finished image does not show whether a chart will be comfortable to follow. Readability is a practical feature, particularly when you are learning to count and mark progress.
Look for mostly full crosses if that is the skill you want to practise first. Backstitch, fractional stitches, knots, beads, and other techniques can be useful, but they introduce additional instructions. A kit with a small amount of one new detail may still suit you if it explains the method clearly. Several unfamiliar techniques in the same first project may make the learning process harder to organize.
Check how colors are distributed. Broad connected areas give you stable references as you stitch. Many scattered single stitches require frequent starts, stops, and position checks. Neither arrangement is wrong, but they ask for different kinds of attention. Compare the chart with your project brief and choose the kind of work you want to learn rather than relying only on a difficulty label.
Keep the original and progress marks distinct
Use a permitted working copy or an allowed digital annotation method if you want to mark completed stitches. Keep the original chart readable for comparison. Do not add uncertain symbols or notes to the only copy in a way that hides the instructions. A clear progress system lets you pause without losing your place and helps you identify whether a missed stitch is genuinely absent or merely unmarked.
Read the complete instructions before threading the needle
Find the strand count, starting guidance, stitch sequence, and finishing directions. Separate the idea of floss strands from the fabric's counting structure. A thread may contain several separable strands, while the cloth has its own threads or blocks. Write down the specified working combination so you can return to it after a break without interpreting an ambiguous note such as "use two threads."
Identify the chart center and compare the planned design with the available fabric. If the kit recommends another starting method, read how that position is measured. Count both horizontal and vertical distances before beginning away from the center. A correct row count does not establish the column position. Starting carefully protects the margin that you will need at the other side of the design.
The beginner cross stitch guide can supplement a kit's explanation of full crosses and counting. Keep the product's specific requirements in view, especially for unusual materials or printed fabric. A general tutorial helps with fundamentals but does not replace instructions that explain how your particular project is constructed, cared for, or finished.
Prepare a small, organized workspace
Place the chart and key where you can compare them easily with the fabric. Work in light that lets you see the holes and distinguish the shades without struggling. Keep unused thread labeled and the active color separate. Put scissors and the spare needle in a consistent place rather than letting them disappear into folds of fabric. A simple arrangement reduces interruptions during the first session.
Choose a working support that suits the cloth and instructions. If using a hoop, fit the fabric evenly and check that its weave remains aligned. The hoop should make the working area accessible without stretching it strongly in one direction. Try a small section before assuming that tighter fabric always produces better stitches. Thread tension and fabric support are separate parts of the setup.
Set up a place to store the project between sessions. Keep the chart, key, thread labels, and instructions together. Protect the fabric from spills and unnecessary handling. If the print is water-removable, follow the maker's guidance about keeping it intact until the appropriate stage. Do not apply plain-fabric preparation habits automatically to a printed kit whose guide is needed for placement.
Practise only the unfamiliar movement
If you have spare suitable fabric and thread, use a short sample to practise the basic cross sequence before beginning the centered design. Keep the sample focused: a few rows can show how the diagonals lie and how much thread tension you are using. You do not need to stitch a separate large practice project. The aim is to understand the movement that will repeat in the kit.
Verify the first section and build from reliable references
Complete a small connected area, then compare it with the chart before continuing. Check its position, width, height, color, and stitch direction. Keep the upper diagonals of full crosses consistent. Let the thread rest on the surface rather than pulling it into a dent. If the first section is correct, it becomes a useful reference for the surrounding shapes; if it is wrong, correcting it early limits the work affected.
Count from a confirmed feature when beginning another section. Avoid guessing because the design looks simple or because the next color appears close by. One misplaced square can shift a border or make a small motif unbalanced. Pause at useful boundaries, such as the end of a row or one complete leaf, and check that boundary against the chart.
When thread catches, inspect its route before pulling harder. It may be tangled behind the cloth or looped around the hoop screw. Release the obstruction and check that the front remains neat. If you need to remove stitches, work carefully and follow a suitable method for the materials. A correction is part of learning; it is easier to manage when you identify the problem before it spreads.
Plan time for the finishing stage
Use your own measured pace to estimate the remaining embroidery rather than expecting the kit's size to guarantee a particular duration. A first project naturally includes chart checks and learning time. The stitching time calculator can help organize sessions once you have a reasonable estimate. Leave room for preparation, corrections, and construction of the final object.
Check the finish before the last stitching session. A hoop display needs appropriate backing and enough cloth for the chosen method. A card needs an opening that fits the motif and a way to secure the fabric. A framed piece needs suitable support and measured placement. Gather these materials early if completion by a particular date matters, so a missing component does not stop an otherwise finished project.
Follow the care instructions for the specific fabric and thread if cleaning or pressing is part of the finish. Do not assume every kit can be washed or treated in the same way. Check missing details before starting when possible. The framing guide offers additional considerations for alignment and support when a flat frame is the intended finish.
Review the result and choose the next challenge deliberately
Compare the completed embroidery with the chart before trimming, backing, or mounting. Look for missing single stitches and unfinished details. Check the visual center as well as the rectangular dimensions. A small asymmetrical motif may need thoughtful placement within its frame or hoop. Test that position before making irreversible cuts, and inspect the back and edges of the final object as well as the front.
Record the kit details, fabric count, strand count, thread substitutions, and finishing method. Note which instructions were clear and which needed another explanation. The project progress tracker can record totals and sessions, while your private project notes preserve specific observations. These records help you choose another kit that develops your skills without repeating avoidable problems.
For the next project, add one new challenge: another color, a slightly larger chart, or a little backstitch. Keep the parts that worked well, such as readable symbols and connected areas of color. A successful first kit teaches more than how to finish its picture. It gives you a method for checking supplies, reading instructions, starting accurately, and making a complete object you are pleased to keep or give.
Choose an original chart from our free collection, or check your fabric measurements before you begin.
Free cross stitch patterns · Fabric calculator