
Tools & materials · 10 MIN READ
Cross stitch magnifiers: choose lighting and working distance
Test a magnifier with your actual fabric, compare usable viewing space and arrange lighting, chart access and mounting around your work.
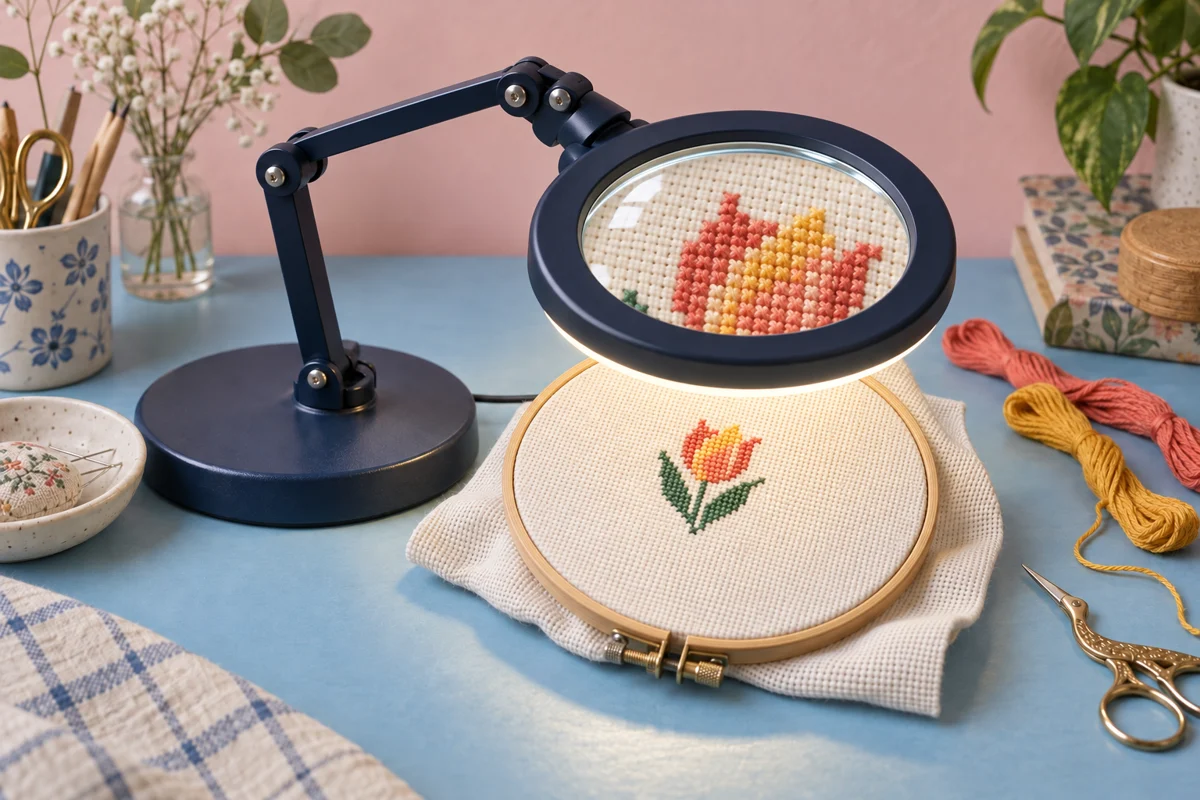
Identify the detail you want to see more clearly
A cross stitch magnifier can make the working area easier to examine, but choosing one starts with the actual task. You might need help distinguishing fabric holes, separating similar chart symbols or inspecting a finished stitch. Those are related activities with different viewing requirements. A lens that is convenient for checking one small detail may be awkward for stitching an entire row beneath it. Describe what becomes difficult in your present setup before choosing a magnification number or copying another stitcher's arrangement.
Take a sample of your usual fabric and threads when evaluating a lens. Include a few ordinary crosses, an unstitched area and any fine detail you expect to use, such as backstitch. Also bring a sample chart if reading symbols is part of the difficulty. Seeing a bold printed label through a magnifier does not establish how it will handle pale thread on pale fabric. The fabric guide can help you identify the material and stitch spacing to record alongside your test results.
Separate enlargement from better illumination
Try improving the position of an existing light before deciding that enlargement is the only missing element. Shadows, glare and insufficient contrast can hide holes even when the fabric is close enough to see. Then compare the same sample through a lens under similar lighting. Changing the lens, fabric and light simultaneously makes the result hard to interpret. Record which change actually helps the specific detail you are testing, rather than assuming that a brighter or stronger accessory must solve every visibility problem.
Read lens specifications as a set
Magnifier descriptions may give a magnification factor, a dioptre rating, lens dimensions and information about lighting or mounting. Read those details together. A single headline number does not describe the size of the usable viewing area, the distance at which the work appears clear or the position your hands will occupy. Ask the maker for the intended working distance and setup instructions if these are not provided. Avoid applying an unfamiliar conversion formula and treating its result as a guarantee of comfortable use.
For example, Daylight's StitchSmart 2 accessory listing specifies a lens size and both a dioptre rating and a magnification factor. Those details describe that particular product, rather than establishing a universal recommendation for cross stitch. The useful comparison is whether a specified lens and mounting arrangement suit your task and existing equipment. Keep the manufacturer's stated measurements separate from observations you make during a trial, and do not infer that every product with the same advertised factor has identical viewing behavior.
Look at the clear opening as well as the outside diameter. A broad housing can surround a smaller lens, while a chart holder or lamp rim can occupy space around the viewing area. If a listing gives only overall dimensions, request the lens dimensions explicitly. Also check whether a smaller inset lens is involved. Its stronger enlargement may apply only to a limited spot, which could be useful for inspection without providing a large enough area for continuous stitching.
Test working distance before committing to a setup
Working distance matters because the needle, fingers and fabric all need room beneath the lens. Set the sample at the position the manufacturer describes, then move it carefully to find the clear view. Notice whether your usual stitching motions fit in that space. If you repeatedly touch the lens or its housing with your hand, the arrangement needs adjustment. Do not judge the setup only by how large a stationary stitch looks when no needle or thread is moving through the area.
Keep your normal chair and frame position in the test. Moving your face unusually close to a demonstration lens may give a clear view that you cannot maintain during an ordinary session. Likewise, holding a hoop at a different angle can change what you see through a lens mounted above it. Try the complete arrangement you intend to use, including any glasses you normally wear for the task. This is a practical equipment trial, not a way to choose or change prescribed vision correction.
Check a row rather than one isolated square
Look at several adjacent stitches and the holes where the next row will go. Move the working section across the lens's useful area, observing where it stops appearing clear. Then try counting back to a recognizable reference point. A lens can make the central square easy to inspect while requiring frequent repositioning to see the surrounding pattern. Decide whether that tradeoff suits your project. A small motif and a broad shaded design may benefit from different amounts of visible context even when they use the same fabric.
Position the light to reveal holes and thread color
Place the light so it illuminates the fabric without forcing you to work through a strong reflection. The best position depends on the lamp, lens, material and angle of the frame. Pale fabric can reflect a bright source, while shiny or metallic thread may produce highlights that change as you move. Begin with a moderate setting if the light offers adjustments, and test ordinary stitches before increasing brightness. More light is useful only when it improves the detail you need to see.
Compare your selected thread colors both through the lens and directly on the fabric. Similar shades can be difficult to distinguish when a lamp casts a color tint or when reflections obscure their texture. Keep the thread labels and chart key available so you do not rely entirely on visual identification. If color matching matters, check the same sample under another suitable light as well. A product's lighting description is a specification to consider, not proof that every shade will appear identical in all rooms or viewing positions.
Watch for shadows from the lamp rim, your hands and the frame. Move one element at a time so you can identify the cause. If a shadow follows your stitching hand across the work, a small change in light position may help more than moving the lens itself. Keep cords clear of the needlework and equipment adjustments. When the lens and light are part of one unit, their positions may interact, so repeat the visibility test after changing the angle rather than assuming the first clear view remains unchanged.
Match the mount to your actual workspace
A magnifier may rest on a base, attach to a table or frame, or use another support arrangement. Confirm how the specific model is intended to mount before trying it on your equipment. A clamp needs a compatible rigid surface of the right size and shape. A freestanding base needs enough level space and room for the arm's movement. A frame attachment needs verified compatibility, including the intended mounting point and any required fittings. Similar appearance is not sufficient evidence that an accessory fits.
Bring the lens to the working area without blocking the chart or the route your thread follows. Check whether you can change thread, turn the frame and move the fabric section while the magnifier remains in place. The frame stand guide explains why access to the back and overall stability should be considered alongside the front working position. An accessory that attaches successfully can still obstruct an adjustment you need regularly, so test the whole sequence rather than only the initial fit.
Keep support limits and balance in view
Follow the maker's instructions for securing and positioning the equipment, including any stated limits on attachments or arm extension. A frame stand and a magnifying arm can influence each other's balance if they share a support. Do not add an accessory simply because a spare screw or bar seems convenient. Verify the intended fitting. If a base shifts, a joint drifts or the lens will not hold its position during normal use, stop and resolve the issue before continuing to stitch around it.
Keep the chart and the fabric equally usable
A clear view of the fabric is only half of a counted cross stitch workflow. You also need to find the corresponding chart section, read its symbols and return to the correct stitch. Position the chart where you can consult it without losing the fabric reference. If you enlarge a digital chart, check that you retain enough context to recognize the row, column and nearby landmarks. A view showing only a few oversized symbols can make it easier to lose your place despite their improved visibility.
For a paper chart, test whether the same magnifier can be repositioned conveniently or whether a separate readable chart arrangement works better. Avoid moving a lens back and forth over the project so often that it becomes a source of counting mistakes. The printed pattern guide covers progress marks and reference points that remain legible. Use those methods alongside a clear chart view, rather than expecting a lens to compensate for symbols that have been obscured by heavy marking.
Keep thread identification equally organized. Similar shades should have distinguishable labels and a clear place in the working set. When switching between the chart and magnified fabric, verify the symbol and the actual thread code before starting a new area. Save any substitutions in your project notes. Magnification may reveal the shape of a cross more clearly, but it cannot tell you whether an unlabeled strand is the color specified by the chart or an alternative you chose during an earlier session.
Practice on a short section and record the result
Use a small trial section to learn the arrangement before starting a long session. Stitch several crosses, end a thread, consult the chart and resume at the next reference point. Notice whether the lens makes those ordinary actions easier or merely makes one static detail larger. Check how often you need to reposition the work. Frequent adjustment is not automatically a failure, but it should fit the kind of project you intend to stitch and the amount of working context you need.
Record the fabric count, lens position, mounting arrangement and light setting that worked during the test. Include the chair or table used, because a different surface can change the height and reach. A quick photograph of the equipment layout can help you recreate it, but add written measurements where they matter. The project tracker can hold practical session notes alongside your progress. Keep those observations specific to the tested setup rather than turning them into universal settings for another stitcher.
Respond to fatigue or an uncomfortable position by pausing and reviewing the arrangement. A magnifier is a craft aid, not a reason to continue indefinitely in a fixed posture. If visibility problems persist despite a clear, appropriately positioned setup, equipment changes alone may not answer them. Seek suitable professional advice for questions about your vision rather than treating an accessory description as a diagnosis. The buying and setup decision should remain focused on the task, the stated product behavior and what you can comfortably observe during a real trial.
Care for the lens and store it deliberately
Clean the lens according to its manufacturer's instructions, using materials intended for its surface. Glass, acrylic and coatings can have different requirements, so avoid assuming that every household cleaner or cloth is suitable. Remove loose dust gently as directed and keep cleaning liquids away from electrical components. A scratched or smeared lens can make a good setup less useful, and increasing illumination may only make those marks more noticeable. Check the viewing surface when a previously clear area starts appearing hazy.
Store the equipment in a stable position with the lens protected as instructed. Keep a magnifying lens out of direct sunlight and cover it when appropriate, following the maker's storage guidance. Fold or reposition adjustable arms only through their intended movements, and keep the lens clear of hard tools that could strike it. If you remove a clamp or fitting, give the small parts a labeled container so the next setup does not depend on finding an improvised replacement.
Review your choice as the project changes. A lens that suits pale 14-count fabric may need another position when you switch material, lighting or frame size. Repeat the sample test rather than assuming the old arrangement will transfer unchanged. A useful cross stitch magnifier provides enough clear detail, working room and visible context for the task while fitting securely into your workspace. Choosing and maintaining it through those practical checks gives you a repeatable way to work, instead of relying on the largest advertised number or an attractive demonstration photograph.
Choose an original chart from our free collection, or check your fabric measurements before you begin.
Free cross stitch patterns · Fabric calculator