
Patterns · 10 MIN READ
Cross stitch birth announcements: names, dates and layout
Chart names and dates for a birth announcement, check the details, and leave enough space for a thoughtful framed finish.
Decide what the announcement should record
A cross stitch birth announcement turns a few carefully chosen details into a lasting textile keepsake. Its practical challenge is fitting names, a date and decoration into a readable arrangement. Start with the information the family wants included rather than filling every open square. The baby's chosen name and birth date may be enough. A weight, time or place can be added when requested, but each extra line changes the available space and the appearance of the whole design.
Confirm the spelling directly with a parent or another authorized family member. Check accents, hyphens, middle names and the family's preferred order. Do not work from an early name suggestion, an informal nickname or an unconfirmed message. When the piece is a surprise, you can ask someone close to the family to confirm the final details. Keep the approved wording in one note and use it as the source for both the chart and the final review.
Consider privacy before adding information or sharing progress photographs. A name, full birth date, weight and place of birth together reveal more than a simple decorative motif. Ask the family what they are comfortable displaying and whether you may post a picture of the finished gift. A keepsake intended for a home does not automatically need to appear on a public social account. You can show your stitching technique without publishing the child's full personal details.
Choose a display piece rather than a loose nursery object
A framed sampler or a wall piece kept out of a child's reach is a different project from a toy or an item placed in a cot. Needles, loose beads, cords, small charms and detachable decorations do not belong where a baby can reach them. This guide plans a decorative keepsake, not a tested baby product. If you want to make a functional baby item, use suitable materials and instructions for that particular purpose rather than adapting a framed-chart design casually.
Pick a layout that leaves room for the real name
Plan the confirmed name before choosing the surrounding decoration. A sample chart may show a short name that fits easily while the actual name needs almost twice the width. Write every line on a grid and count its occupied squares, including spaces and punctuation. Decide which line carries the most visual weight. Usually the name is the central element, with the date beneath it and a small motif above or around it. Keeping that hierarchy clear makes the piece easier to read.
Use the same grid to draft all the lines. If the name occupies 73 squares and the date occupies 45, centering the date places its left edge fourteen squares farther in from the name's left edge. Subtract the shorter width from the longer width and divide by two. A difference of an odd number requires choosing one of the two nearest whole-square positions. Judge the visual balance after adding the actual letter shapes, since wide and narrow letters can make equally centered lines appear different.
Leave breathing room between text and decoration. A leaf that nearly touches the top of a letter can look like part of the letter when seen from a distance. Open a little space rather than relying on a tiny color change to separate them. Do the same around a date: dots, stars and numbers can merge if they are too close. The name and alphabet maker can help explore basic block lettering, and the alphabet guide covers spacing checks.
Plan accents and unfamiliar characters deliberately
A simple alphabet may not include the characters the family needs. Do not silently replace an accented letter or omit punctuation because the first chart lacks it. Ask about the correct form and draft the missing character on the grid. Check that an accent has enough clearance above the name line. If you cannot create a readable character in the chosen size, select a more suitable alphabet or increase the available space before starting the fabric.
Choose a small original motif that supports the wording
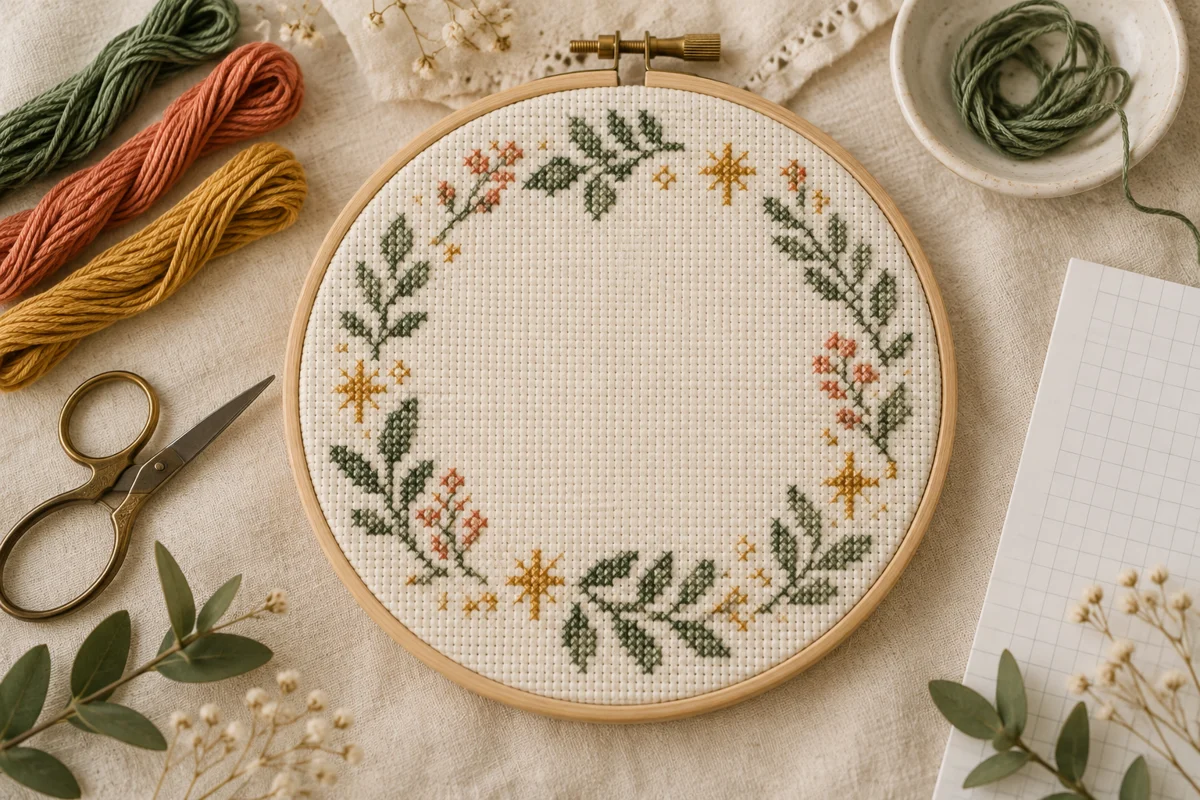
A restrained motif gives the announcement personality without competing with its information. Generic stars, leaves, hearts, clouds or a simple animal silhouette can work well. Select one family of shapes and repeat it consistently. Combining several unrelated motifs can make a small design feel crowded. If you want a floral arrangement, start with a few larger leaves and flowers rather than many isolated single stitches that make the chart harder to follow.
Design your own motif or use a chart whose permission terms fit your intended use. A character from a film, game or commercial children's product is not automatically available because the gift is personal. Avoid tracing another designer's preview image into a new chart. An original generic shape can still feel specific to the family through its colors and arrangement. The blank grid designer provides a simple place to test a motif before joining it to the lettering.
Check the motif at the finished size, not just at a large screen zoom. A tiny eye, a narrow stem or a one-square opening can disappear when the piece is mounted and viewed across the room. Print the draft at a useful scale or make a small fabric sample. If a shape needs explanation to be recognized, simplify its outline. Keep the most important details in areas where stitches form connected shapes, especially when the design is intended for a beginner.
Calculate the fabric and frame together
Choose the fabric count and the finishing format before cutting. Suppose the complete chart is 98 squares wide and 126 squares high. On 14-count Aida worked over one block, its stitched area is seven inches wide and nine inches high. Divide each chart dimension by fourteen. The width and height describe the design itself. They do not include the extra fabric needed for holding, mounting or the visible space between the outer stitches and the frame opening.
If your chosen mounting method needs three inches of additional fabric on every side, that example requires a thirteen-by-fifteen-inch fabric piece. Add six inches to each design dimension because the allowance appears on two sides. Three inches is only an example. A hoop finish, a sewn wall hanging and a laced frame can have different requirements. Check the actual method and frame opening, then use the fabric calculator to keep the arithmetic consistent.
Remember that linen or evenweave count describes fabric threads, while the effective stitch count also depends on how many threads each cross spans. On 28-count evenweave worked over two threads, the effective count is fourteen crosses per inch. Worked over one, the same chart becomes much smaller. Record both choices rather than writing only the fabric number. For background on these distinctions, use the fabric count guide before buying material for a fixed frame size.
Reserve space for information that arrives later
You can prepare decoration before the birth, but keep the name and details flexible until confirmed. Leave the lettering area blank and keep enough surrounding space to accommodate the likely text. Do not stitch an irreversible border around a guessed date block. If the gift must be completed soon after the birth, make a draft that shows which elements can be stitched in advance and which depend on the family's final information.
Choose readable thread and test the coverage
Use a thread color for the name that contrasts clearly with the actual fabric. Pale cream on white may look delicate in a close photograph but become hard to read on a wall. Lay the proposed skeins on the fabric under the light where you will work. Then examine them from farther away. The date and supporting details can be quieter than the name, but they should not require bright direct light to be understood.
Compare physical threads rather than treating a screen color as a precise match. Keep the brand, range and color reference for each choice in your project notes. If a family supplies a digital nursery palette, use it as an approximate starting point and select real thread that gives the necessary contrast. The image palette tool can suggest color relationships, but its generic digital colors do not identify a manufacturer's thread references.
Stitch a small sample using the chart's recommended number of strands. Check the main letters as well as a filled motif. Very thick coverage can crowd the gaps inside small characters, while very light coverage may make the inscription look faint. Test before changing strand count throughout the design. Use the same thread preparation and tension you intend for the finished piece, so the sample reflects the result you will actually create.
Stitch the text with frequent spelling checks
Locate the fabric center and compare it with the chart's center markers. Begin at a measured position that preserves all the margins. If the main name is the project's anchor, stitch a manageable portion of that line first and use it to confirm the other elements. Mark progress on a working chart copy you are permitted to annotate. Keep the clean original and the approved wording available so a progress mark cannot hide a spelling mistake.
Check each completed letter and each space before moving to the next. A missing column between two letters can shift the rest of the name even when its spelling is correct. Count from a known reference, such as the text center or a completed motif, and compare positions in both directions. After a full line is stitched, compare its width with the draft. Correct a clear placement error before surrounding decoration makes the area harder to reach.
Keep dark thread carries away from open pale fabric. Long carries behind an unstitched gap may show through from the front, particularly after mounting. Stop and secure the thread when the next letter is too far away for a discreet connection. This can take longer than simply traveling across the back, but it protects the clean appearance of the text. The beginner stitching guide explains counting and thread control in more detail.
Add the date only after confirming its format
Check whether the family prefers a written month, a numeric date or another format. A written month reduces confusion between day-first and month-first dates, but it needs more room. Draft the final date using the same grid and confirm it once more before stitching. If you include time or weight, include the units or an unmistakable format. Do not infer a missing unit from a number shared in a quick message.
Finish the piece for the place it will be displayed
Review the materials' care instructions before washing. Specialty thread, hand-dyed fabric and attached decorations can require different handling from ordinary stranded cotton. Test uncertain combinations on a spare piece rather than discovering color bleeding on the completed inscription. If cleaning is appropriate, follow the instructions for all the materials and let the work dry fully before mounting. Do not use a washing method simply because a different project tolerated it.
Choose a frame or other display finish that supports the fabric evenly and keeps the text level. Measure the completed piece as well as the planned chart dimensions. The actual fabric and your tension can affect the fit. Check the visible opening before trimming excess fabric. Leave enough material to secure the back using the chosen method. The framing guide covers measuring, centering and mounting in a practical order.
Inspect the finished object for loose additions and exposed sharp parts. Make sure no needle remains in the fabric or packaging. Keep hanging cords, small decorations and the framed object itself out of the child's reach. Present it with a brief care note so the family knows how it should be displayed and cleaned. A simple finished sampler with clear lettering is more useful than a heavily embellished piece whose handling requirements are unclear.
Make a final review before giving the gift
Compare the finished wording with the confirmed family details rather than relying on memory. Read the name character by character and verify the date separately. Check that every accent and separator is present. Look at the alignment from the expected viewing distance, then inspect the mounting and corners close up. This order gives both the main information and the construction attention without turning the final review into a search for harmless tiny stitch variations.
Keep a private project record containing the chart source or your original draft, thread references, fabric choice and a photograph. Ask permission before sharing any personalized picture publicly. If you do share an approved image, avoid adding extra birth details in its description. The keepsake is successful when it reflects the family's chosen information, reads clearly and is finished appropriately for display. Careful confirmation at the beginning makes that final result much easier to achieve.
Choose an original chart from our free collection, or check your fabric measurements before you begin.
Free cross stitch patterns · Fabric calculator