
Techniques · 8 MIN READ
Cross stitch scroll frames: load fabric and manage tension
Check scroll frame capacity and attachment, align the fabric, adjust tension and move the working section with the project protected.
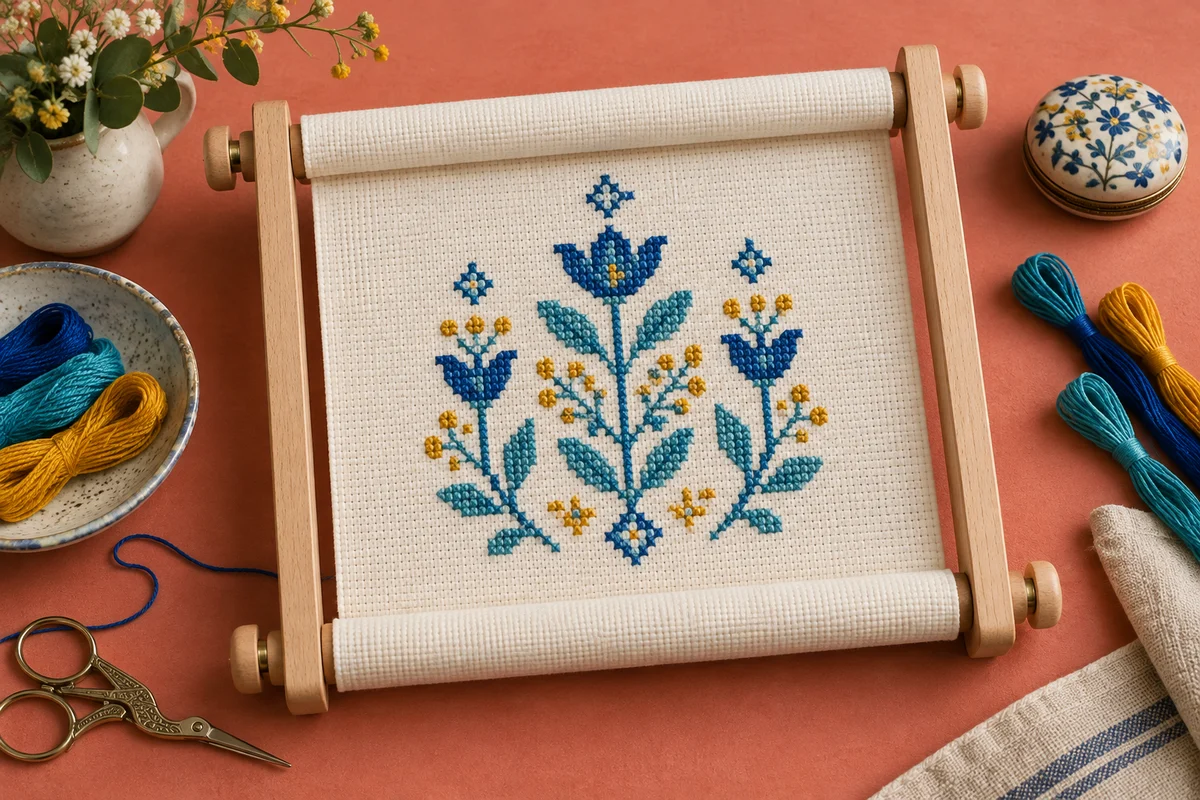
Understand the working area of a scroll frame
A cross stitch scroll frame holds fabric between two rollers and supporting side pieces. As the project progresses, some fabric can be rolled away while a selected section remains available for stitching. This can help you manage a long piece without repeatedly gathering loose fabric around a small hoop. The frame still needs to suit the project's dimensions, attachment method and your working arrangement. It is not automatically the most comfortable choice for every chart or every stitcher.
Distinguish the overall frame size from the usable fabric width and exposed stitching area. Manufacturers describe these dimensions in different ways, so read the specifications for the actual model. For example, Needle Needs explains its frame dimensions in terms of maximum fabric width and exposed working area. That product-specific explanation illustrates why an outside measurement alone is insufficient; other systems may use different size conventions.
Start with the fabric, not just the chart
The frame must accommodate the material you will mount, including margins reserved for finishing and attachment. A design ten inches wide may sit on fabric considerably wider than ten inches. Measure the complete prepared piece and compare it with the frame's usable capacity. Do not trim necessary margins merely to fit equipment you already own. The fabric calculator helps establish the stitched dimensions, but attachment and finishing allowances require separate planning.
Check the attachment system before mounting
Scroll frames use different methods to hold fabric on their rollers. Some require stitching to an attached tape; others use slots, clips or a specific fastening system. Follow the instructions supplied with your frame. A method that works on one roller construction should not be assumed suitable for another. Inspect the components and identify where the fabric is meant to sit before applying tension or making any modification.
Check the roller surfaces and attachment parts for roughness, damage or missing pieces that could interfere with the fabric. Assemble the empty frame according to its instructions and confirm that its joints and adjustment points work as intended. If you obtained it second-hand, locate the correct documentation rather than inferring the mechanism from photographs of a similar frame. Keep any model-specific tools or removable parts together so later adjustments remain straightforward.
Use matching spare fabric for a small attachment trial when the system is unfamiliar. The trial should demonstrate how the material is secured, rolled and released, not merely how it looks when first installed. This lets you identify unsuitable thickness, slippage or awkward access before mounting the only prepared project piece. Keep adhesive or other fastening materials away from the embroidery unless the actual system calls for them and you have tested their suitability.
Align the fabric before adding tension
Identify the fabric's intended top and bottom and check the orientation against your chart. Keep the grid straight relative to the rollers. If the attachment begins at an angle, rolling can exaggerate the misalignment and create uneven tension. Use the fabric's grid and measured reference points to assess alignment rather than relying only on a raw cut edge, which may not follow the weave precisely.
Mount both ends using the frame's specified method while keeping the material evenly positioned. Preserve enough fabric for attachment without trapping part of the stitched design in the mounting area. Compare the fabric's side edges and grid lines as you work. A careful initial setup can save repeated adjustment later, particularly when the project is wide or has already stitched areas that need protection.
Mark useful references in your notes
Record the chart centre, fabric centre and orientation before the frame hides part of the material on its rollers. You may need these references when moving to a new section. Keep the key and special-stitch instructions with the chart so a change in the visible working area does not leave you without context. The project tracker can record your current section and verified reference points separately from general progress.
Adjust tension without distorting the grid
Aim for a supported working surface that remains aligned and comfortable to stitch. More tension is not automatically better. If the grid becomes distorted or the fabric edges are being pulled unevenly, reassess the mounting and adjustment rather than continuing to tighten. Follow the frame's instructions for its tension controls, including how the rollers and side pieces are secured. Different mechanisms distribute tension differently.
Check the surface across the width and height of the exposed section. Compare the grid near the sides with the grid in the centre. Unevenness can come from skewed attachment, uneven rolling or adjustments made on only one side. Identify the likely cause before changing several controls at once. Making one deliberate adjustment and then inspecting the result gives clearer information than repeatedly tightening every available knob.
If the frame supports optional side-tension accessories, confirm their compatibility and use them according to their instructions. Do not attach improvised clips close to fragile fabric or completed stitches without assessing the effect. A side accessory may help a particular setup, but it does not correct every mounting problem. Test changes on spare material when needed and keep the intended finished margins protected throughout the process.
Set a working position you can reach comfortably
Check how the frame will be supported and how you will reach the active area. A wide working window can hold a large amount of fabric while placing some stitches farther away than you prefer. Adjust the visible section or support arrangement to match your actual reach. You do not need to expose the largest possible area simply because the frame permits it. A smaller useful window may make counting and needle control easier.
If you plan to use a stand, verify its compatibility with the frame before mounting the project. Check the clamp location, access to adjustment points and ability to reach the reverse for securing thread. A frame and stand are separate components unless your system explicitly combines them. Support instructions matter because an unsuitable clamp position can obstruct the work or place pressure where it is not intended.
Practise access to the reverse
Before starting a long stitching session, test how you will turn or reposition the frame to reach the back. Keep loose tools clear during that movement. Confirm that thread can be started and finished without dragging the mounted fabric against surrounding objects. If reverse access is awkward, revise the setup early rather than postponing every thread end until the frame must be removed. Our hoop guide offers a comparison with a different fabric-holding method.
Move the visible section deliberately
When advancing the fabric, pause stitching and secure or store the needle first. Follow the frame's method for releasing, rolling and restoring tension. Keep the fabric straight as it moves and inspect both rollers for uneven layers or trapped objects. Avoid forcing a stiff adjustment while the material is under unnecessary strain. A smooth movement depends on the mounting system and the amount of fabric on the rollers.
Plan for the thickness of completed stitching. Dense areas, beads and raised knots do not behave exactly like blank cloth when rolled. Follow the project's instructions and consider adding raised details later when appropriate. The beaded cross stitch guide and French knot guide explain why finishing and handling need to account for those details. Do not assume that rolling every embellished area tightly is harmless.
After moving the section, restore the working surface carefully and verify your chart position. Count from a reliable checked landmark rather than trusting the edge of the newly exposed fabric as a chart boundary. A roller's visible edge is determined by the mounting, not by the design's page divisions. Note the new active section and inspect the grid before continuing, especially if you changed the exposed height significantly.
Diagnose slippage, unevenness and excess fabric
If the fabric slips repeatedly, inspect the attachment and locking mechanism according to the frame instructions. Check whether the material is compatible with that method and whether the components are assembled correctly. Increasing tension without correcting the attachment can simply repeat the same problem. A spare-fabric test may help distinguish a system issue from something specific to the project's thickness or dimensions.
If the grid looks diagonal, examine the alignment at both rollers and the way the material is layered around them. Recheck the original mounting references. Do not compensate for a skewed grid by intentionally changing the stitch direction or tightening individual crosses. The stitches should follow the intended fabric structure. Correcting the support arrangement is a different task from correcting a counting error in the chart.
Manage extra fabric using a method appropriate to the frame and material. Keep it away from moving adjustments and tools, and avoid folds that repeatedly press across raised details. If the equipment is fundamentally too narrow or unsuitable for the prepared piece, reassess the frame choice. A project does not become easier when its essential margins are cut away or its fabric is forced into an incompatible mounting arrangement.
Inspect and store the mounted project
At the end of a session, check the stitching, thread ends and equipment before putting the project aside. Store needles and scissors securely rather than leaving them where they can be hidden by rolled fabric. Follow the frame and material guidance for storage and tension between sessions. Protect the work from dust and unintended pressure, and keep it dry. The project bag guide helps you plan storage around the actual size of the equipment.
When the stitching is complete, release and remove the fabric using the specified method. Inspect the full piece and preserve the allowances needed for its final construction. Keep notes about frame size, attachment and useful adjustments for later projects. A successful cross stitch scroll frame setup combines suitable dimensions, straight mounting, controlled tension and practical access. Those checks let the frame support the work without becoming another source of counting or finishing problems.
Choose an original chart from our free collection, or check your fabric measurements before you begin.
Free cross stitch patterns · Fabric calculator