
Getting started · 9 MIN READ
Choosing cross stitch needles and thread
Find a comfortable needle and get smooth, even coverage from stranded cotton.
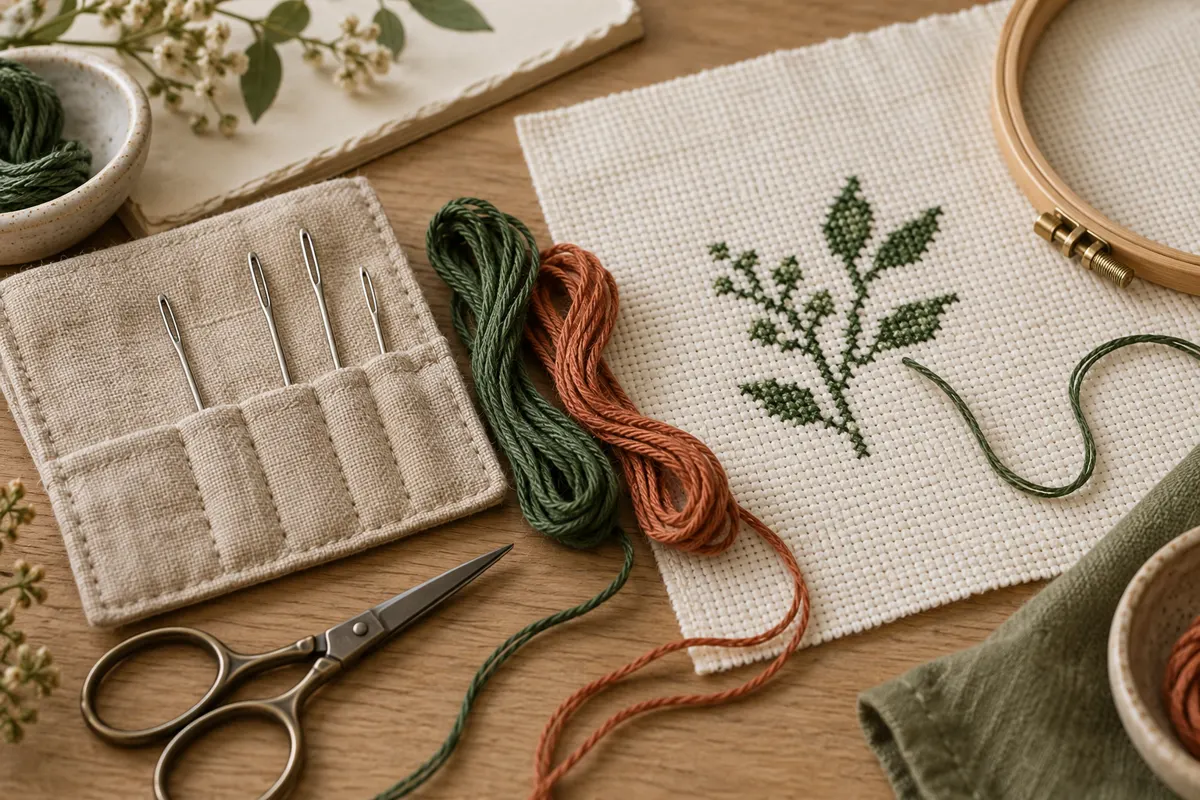
Treat the needle, thread and fabric as one setup
A comfortable cross stitch setup combines a needle that passes through the fabric easily with enough thread to make the intended coverage. Changing any one of those parts can change how the stitch feels and looks. A thick thread bundle in a small eye is difficult to manage, while a large needle on fine fabric may distort the holes. Start with the pattern's recommendations, then test your exact combination.
Keep the material information from the chart nearby. Record the fabric count, whether crosses span one or two threads, and the working strand count for each stitch type. A pattern may use two strands for crosses and one for backstitch. The numbers describe the threads in the needle during stitching, which is different from the number of strands supplied together in a skein.
If you are changing the fabric count, make a sample before buying a large amount of thread. The same chart will have different physical stitch sizes, and its original strand recommendation may need reassessment. The fabric guide explains effective stitch count, while the fabric calculator checks the design dimensions and margins. Comfortable handling matters as much as the appearance in a close-up photograph.
Choose a needle suited to counted work
A tapestry needle has a blunt point that can move through the existing holes in counted fabric. Its eye should accommodate the chosen thread without scraping it at every pass. For ordinary full crosses, you are using those holes rather than repeatedly piercing the fabric threads. A pointed embroidery needle has a different purpose and may be useful for techniques that require entering between woven threads.
Tapestry needle size numbers run in the opposite direction to their physical size: a higher number generally means a finer needle. Size 24 is a common starting option for 14-count Aida, but it is not a universal requirement. The particular fabric, thread and your handling can make another size more comfortable. Compare needles on a scrap rather than forcing the entire project to fit one recommendation.
Watch what happens at the hole and the eye. The needle should pass without a hard push, while the thread follows without obvious snagging. If every hole becomes visibly stretched, try a finer needle or reassess the thickness of the thread. If the eye is difficult to thread or the floss repeatedly frays beside it, inspect the needle for damage and consider whether the chosen eye is appropriate.
Replace a damaged needle promptly
A bent needle or a rough eye can make a normally workable thread seem troublesome. Check it when you notice repeated abrasion, unusual resistance or a change in how the stitch feels. Replace it rather than compensating with more force. Keep spare needles in a closed case, and account for the working needle when you stop so it does not remain loose in the chair or project bag.
Understand stranded cotton before threading it
Six-strand cotton embroidery floss consists of six fine strands bundled together. Many cross stitch instructions call for only a few of those strands at a time. Cut a manageable working length, then separate the number you need. Pulling one strand out at a time helps reduce tangling and allows the strands to lie more evenly when brought together again.
Hold the cut bundle loosely near one end and draw out a single strand slowly. The remaining strands may bunch temporarily; let them relax before removing another. Lay the selected strands together without twisting them deliberately. If the original bundle becomes knotted, untangle it before proceeding rather than pulling harder and stretching the thread. Prepare only what you can organize reliably during the session.
Start with a working length that feels manageable for your movement and the thread type. A shorter length reduces the number of passes through the fabric before a fresh thread is needed, which can help with abrasion and knots. A longer length means fewer starts but can twist or tangle more readily. There is no single length that suits every stitcher and every material.
Choose working strands by instructions and a sample
Follow the chart's stated strand count first. On common counted fabrics, two strands of cotton often provide a useful starting point for full crosses, but the intended effect and stitch size determine the final choice. A more open appearance can be deliberate. Adding strands until no fabric is visible at all may produce bulky crosses, crowded holes and a difficult reverse.
Stitch a small patch in one of the design's darker colors against the actual fabric. Complete the crosses with consistent tension and look at the result in the lighting where you will display it. Examine it from a normal distance as well as close up. Dark thread on pale fabric may make the spaces between crosses more noticeable than a color closer to the background.
If you compare strand counts, keep the other variables steady: the fabric, needle, stitch direction and tension. Record which sample uses which number. This makes the decision repeatable and helps you avoid blaming fabric count for a difference caused by tighter pulling. Save a scrap sample when practical, especially if you expect to resume the project after a long break.
Backstitch can need a different thickness
Outlining is a line rather than a filled cross. Its strand count should suit the scale and intended contrast of the design. Using the same bundle as the crosses may make a delicate line too heavy. Follow the key, then test any substitution on a small section. The backstitch and fractional stitch guide explains how the chart represents those additional stitches.
Thread the eye without damaging the strands
Bring the selected thread ends together and trim only the uneven or frayed tips if necessary. Use a method that fits the needle's eye without forcing the bundle. A needle threader may help, but its wire also needs to fit the eye comfortably. If both thread and threader are jammed into a small opening, change the setup instead of pulling until something bends or breaks.
Keep the thread tail through the eye long enough that it does not slip out repeatedly. Unless your starting method requires a folded loop, do not automatically double the entire working length and assume it is the correct number of strands. Two selected strands folded in half create four working strands. Count the threads that will actually pass through the fabric when interpreting the chart.
If the thread frays close to the eye, try moving the needle along the working thread to a fresh area, inspect the eye and shorten the remaining length. Repeatedly stitching with a badly worn section can make the last crosses look rougher than the first ones. A fresh length is often more effective than tightening the stitches to hide damaged fibers.
Start and finish in a way that fits the thread
A traditional loop start works neatly when a folded single strand gives the even number of working strands you need. For two working strands, fold one longer strand in half and thread the cut ends through the needle, leaving the folded loop for anchoring at the back. The loop start guide covers the sequence and its limitations in more detail.
A folded loop is not suitable for every combination. If a stitch blends two different colors, folding one color does not reproduce that blend. Folding variegated thread can also alter its planned color sequence. An alternative is to leave a short tail on the back and secure it under the next stitches, or use another method appropriate to the material and chart.
To finish, slide the needle under several nearby stitches on the reverse and trim the remaining tail carefully. Avoid cutting the holding stitches or carrying a loose tail across a large blank area. Bulky knots can affect a flat finish, while insecure tails may loosen during handling. Check the reverse before moving to the next color rather than discovering a loose end after mounting the piece.
Manage twisting, tangles and tension
Thread can twist as you work because the needle rotates during repeated movements. When you see the strands winding tightly, allow the needle to hang briefly and unwind above a clear work area. Resume with the strands lying alongside each other. This small pause can prevent a knot from forming and help the crosses look more consistent without changing the strand count.
If a knot appears on the reverse, stop before pulling it into the fabric. Open it gently with the needle or your fingers if possible. Forcing it through a hole can distort the weave or leave a lump behind the design. If the thread is badly tangled or worn, end it securely and start a fresh length rather than spending the whole session fighting it.
Tension should hold the thread against the fabric without pulling the grid out of shape. A snug stitch is different from a tightly cinched one. If the fabric puckers around a cluster of crosses, reassess your pull and the way the hoop holds the weave. The beginner stitching guide shows how to establish a consistent first row before adding more complex thread management.
Keep specialty threads and color changes organized
Specialty threads can behave differently from ordinary stranded cotton. Some are not designed to be separated, and metallic or textured threads may need shorter working lengths or specific handling. Read the manufacturer's instructions rather than applying cotton preparation to every skein. Test the material on your fabric to see whether it passes through the holes and survives repeated movement comfortably.
Keep the original color identification with each thread, even after winding it onto another holder. Close shades are easy to confuse once the labels are discarded. If you substitute a color, write down both the original chart reference and what you actually used. Screens and photographs are useful for inspiration but cannot guarantee an exact match to a physical thread color.
For blends, prepare the required strands together and label the combination. A blend of one green and one gold strand is different from two strands of either color, even if they look similar from a distance. Keep unused prepared lengths separate so you can identify them later. This matters particularly on charts with many nearby shades or repeated blended combinations.
Estimate supplies from your own stitching method
Thread usage depends on more than the number of visible crosses. Working strands, fabric count, stitch paths, starts, finishes and carries all affect consumption. A chart's material list is the first reference, but a sample gives useful information when you have changed the fabric or method. Measure a known length before stitching a known number of crosses, then account for the remaining thread and any tails.
Use the floss estimator to turn a measured assumption into a planning estimate for each color. Its default length per stitch is a starting assumption, not a universal measurement. The thread estimation guide explains how to avoid confusing metres of individual strands with the bundled length printed on a skein label.
Store leftover thread cleanly with its label and your project notes. Record the needle size, strand count and any handling changes that worked well. When starting the next piece, you can repeat the successful combination instead of guessing from memory. A small tested setup lets you concentrate on the chart and the stitching, which is the real purpose of choosing suitable needles and thread.
Choose an original chart from our free collection, or check your fabric measurements before you begin.
Free cross stitch patterns · Fabric calculator