
Patterns · 8 MIN READ
Make your own cross stitch pattern from a photo
Simplify a picture into a stitchable grid, then check it before you thread a needle.
Decide what the finished pattern should do
Making your own cross stitch pattern starts with a clear subject and a practical finished size. A chart for a bookmark needs a narrow layout; a framed pet portrait has different space and detail requirements. Choose the object, approximate dimensions and level of complexity before converting an image or drawing a grid. Those choices determine how many squares you can use and how much detail they can represent.
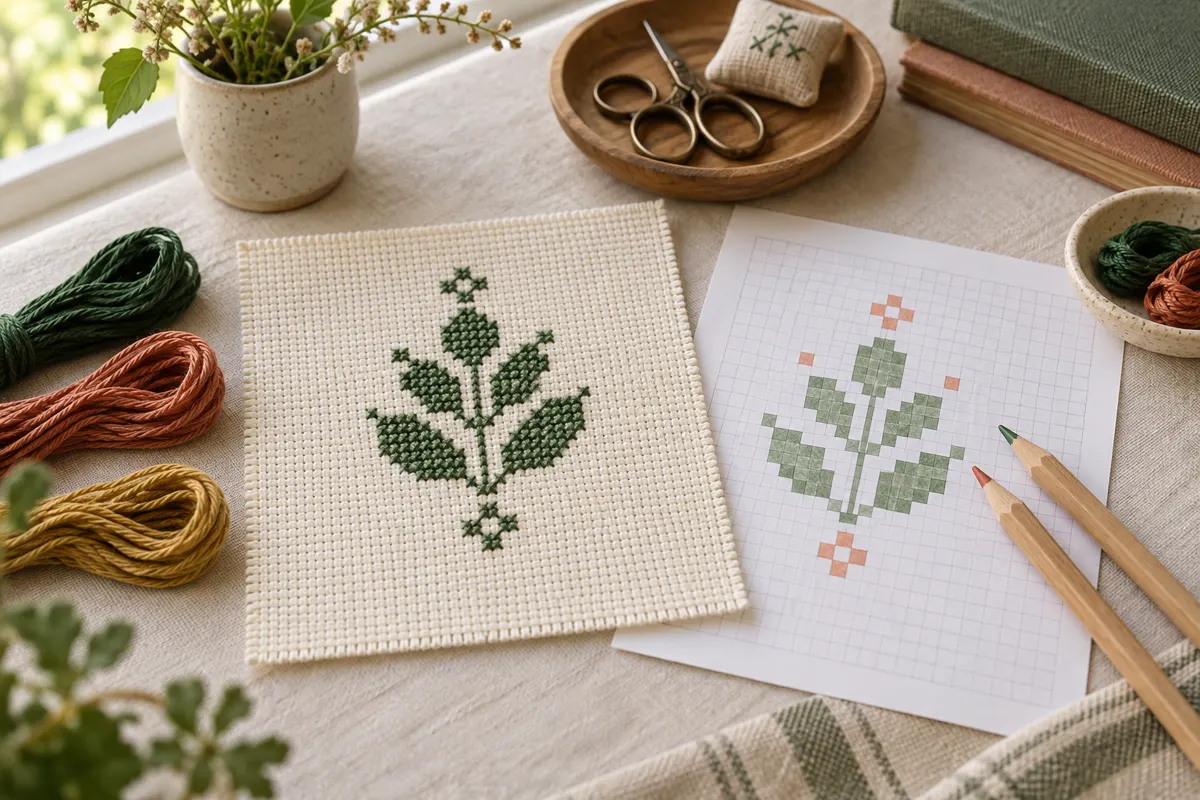
A cross stitch chart is a plan for real stitches, rather than simply a picture with a grid laid over it. Every filled square represents a color decision and a physical cross. Small marks that look attractive on a screen may become isolated stitches requiring several thread starts. Fine photographic details can disappear when the picture is reduced to a modest number of squares. Evaluate the design as something you will count and stitch.
You can begin with a drawing, simple geometry, lettering or a photograph you own or have permission to adapt. Keep the original source and any applicable permission with your project notes. If the design will be shared, include clear usage terms for your own chart and respect the source material's terms. Our original chart collection offers examples of compact motifs with an explicit license and readable keys.
Choose a useful stitch width and fabric count
Decide the stitch dimensions separately from the fabric count. The chart controls the number of squares; the count controls how large those squares become in the finished object. An eighty-stitch-wide pattern on 14-count Aida measures about 5.71 inches before margins. On 18-count it measures about 4.44 inches. Changing count shrinks the physical picture without adding missing detail to the chart.
Use the fabric calculator to compare your planned size and add finishing allowance. If you want a design six inches wide at fourteen crosses per inch, you have roughly eighty-four chart columns available. A photograph's eye, leaf or small lettering must remain recognizable within those columns. If the subject needs more squares, increase the finished size or simplify the composition instead of expecting the fabric count to recover lost features.
Keep the height in proportion unless you deliberately redraw the subject. A square image reduced to eighty columns usually needs eighty rows to preserve its shape. A taller image needs more rows at the same width. The photo pattern maker calculates the chart from the selected image; check the resulting dimensions before deciding whether the finished rectangle fits your intended frame or other object.
Distinguish a preview from the actual chart
A stitched-style preview helps you assess the overall picture. A symbol chart helps you locate individual colors and squares. View both: a pleasant preview can conceal unreadable symbols or a troublesome cluster of tiny color changes. The downloadable chart and key are the instructions you will use during stitching, so inspect them before preparing the materials.
Prepare a photograph before converting it
A clear subject against a relatively simple background usually survives reduction better than a busy scene. Crop the source in an image editor you normally use so the important subject occupies a useful part of the frame. Do not leave most of the grid to an unimportant wall or lawn if the goal is a portrait. Save a separate prepared copy so the original photograph remains available.
Check the subject at a small viewing size. If the main feature is already difficult to recognize, a small cross stitch grid may need a closer crop or a different photograph. Strong separation between the subject and background can help. Very subtle differences between neighboring shades may collapse into one color when the palette is reduced, even when they are visible in the full-resolution source.
Avoid assuming an automatic conversion understands the importance of a particular detail. It groups digital colors, not meanings such as an eye or a letter. A background with many varied colors can use much of the palette, leaving fewer distinct colors for the subject. The palette extractor can show the image's main digital colors before you commit to a chart, but it does not identify actual thread shades.
Compare a few deliberate conversion settings
The photo maker lets you choose a stitch width and a maximum number of colors. Begin with a moderate setting, then compare one change at a time. More columns give details additional squares but increase the stitch workload. More colors can preserve subtle shading but also increase thread organization and color changes. Neither setting automatically makes the design better for your intended object.
Compare a small set of previews, such as the same width with eight and sixteen colors. Inspect the subject's edges, recognizable features and background noise. Then compare two widths while holding the palette choice steady. Make notes about what improved and what became harder to manage. This avoids selecting the largest available settings merely because the screen preview looks more detailed.
Use the maker's comparison view to see what the reduction changed, then switch to symbols and examine a few chart blocks. Look for colors used in very few isolated squares. Those squares may be necessary, but they deserve attention because each can add counting and thread handling. The easy pattern guide explains why the structure of color areas matters as much as the chart dimensions.
Draw a simple original motif on a blank grid
For a border, tiny flower or geometric motif, drawing directly can be more predictable than converting a photograph. The blank grid designer provides full-cross squares, a color control, erasing and undo. Start with an outline or a small repeated unit. Leave enough empty space around the motif to inspect its shape without confusing its edge with the grid boundary.
Build symmetry intentionally when the design needs it. Count the center column or the two columns around a central boundary, then compare corresponding positions on either side. A motif with an odd width has a central column; an even width has a center between columns. Decide which arrangement suits the shape before adding a border or lettering that depends on the same center.
Save a project file while the design is still being developed. The grid designer keeps the working chart in memory and does not automatically save it for another visit. Its saved JSON project can be reopened to continue editing; the SVG download contains the chart and generic color key. Keep both if you need an editable version as well as a printable one.
Keep special stitch instructions separate
The current blank grid designer represents full crosses. It does not assign backstitch lines or fractional placements. If you add those techniques afterward, provide separate clear instructions and a chart that represents their endpoints correctly. The backstitch and fractional stitch guide explains why these details cannot be inferred simply from a filled square.
Simplify colors without losing the subject
Look for shades that serve nearly the same visual purpose. Two neighboring greens might be combined without losing a leaf's shape, while merging a dark eye with surrounding fur could remove an important feature. Assess each change in the context of the picture. A lower color count is useful when it reduces unnecessary transitions, not when it makes the subject harder to recognize.
Digital RGB values are references, not guaranteed thread matches. Compare candidate floss colors physically under suitable light and test the important combinations against the actual fabric. Keep the palette label, the RGB suggestion and the thread you chose together in your notes. If you substitute a brand or material, record that choice rather than claiming that a screen color proves an exact match.
Pay attention to adjacent colors and the background fabric. A pale flower can disappear on pale fabric if its edges rely on a subtle contrast. A dark outline may clarify the shape, but adding it changes the design and may require backstitch instructions. Test a small section before deciding to replace every pale stitch or add outlining around the entire picture.
Review the chart as a stitcher
Check whether each symbol is distinct at the print size you will use. The photo maker's PDF includes a preview, color key and numbered chart tiles; inspect the joins and tile numbering before stitching. Keep the key beside the working tile. A scalable SVG is useful for viewing and printing in another application, but its physical print scale depends on that application's settings.
Scan for isolated colors, long gaps between motifs and similar symbols near one another. Estimate which areas will require frequent thread changes or repeated counting across bare fabric. You can leave such details intentionally, but understand their cost. The parking method guide discusses one way to organize multiple working threads on a detailed chart, while simpler motifs often need a less elaborate approach.
Calculate time and thread from the actual filled squares rather than the bounding rectangle if the design contains blank space. The time calculator uses your own stitching pace, and the floss estimator works from a stated usage assumption. Both are planning aids. A test section gives more useful information than treating their defaults as a promise about every chart.
Test the important section and package the pattern
Choose a representative sample containing a main feature, a difficult edge and a few color transitions. Stitch it on the intended fabric with the proposed threads. Compare it with the chart at a normal viewing distance. Does the subject remain readable? Are the small color changes worth their extra handling? Record changes while you can still revise the design without undoing a large completed area.
Include the chart width and height, fabric recommendation, working strands, stitch types and complete color key with the finished pattern. State whether empty squares remain unstitched. If you changed the original conversion manually, ensure the final chart and key agree rather than distributing an old preview alongside a new stitch plan. Test every download you intend to share by opening the actual saved file.
Keep a dated editable project and a separate final export. If the pattern changes later, use a clear version note so a stitcher knows which instructions match their copy. For a framed finish, the framing guide explains why useful margins and preparation belong in the planning stage. A successful original chart connects a recognizable idea with readable instructions and a material setup that you have considered carefully.
Choose an original chart from our free collection, or check your fabric measurements before you begin.
Free cross stitch patterns · Fabric calculator