
Patterns · 10 MIN READ
Wedding cross stitch patterns: plan a personal sampler
Plan a personal wedding sampler with measured lettering, original motifs, balanced colors and a realistic finishing schedule.
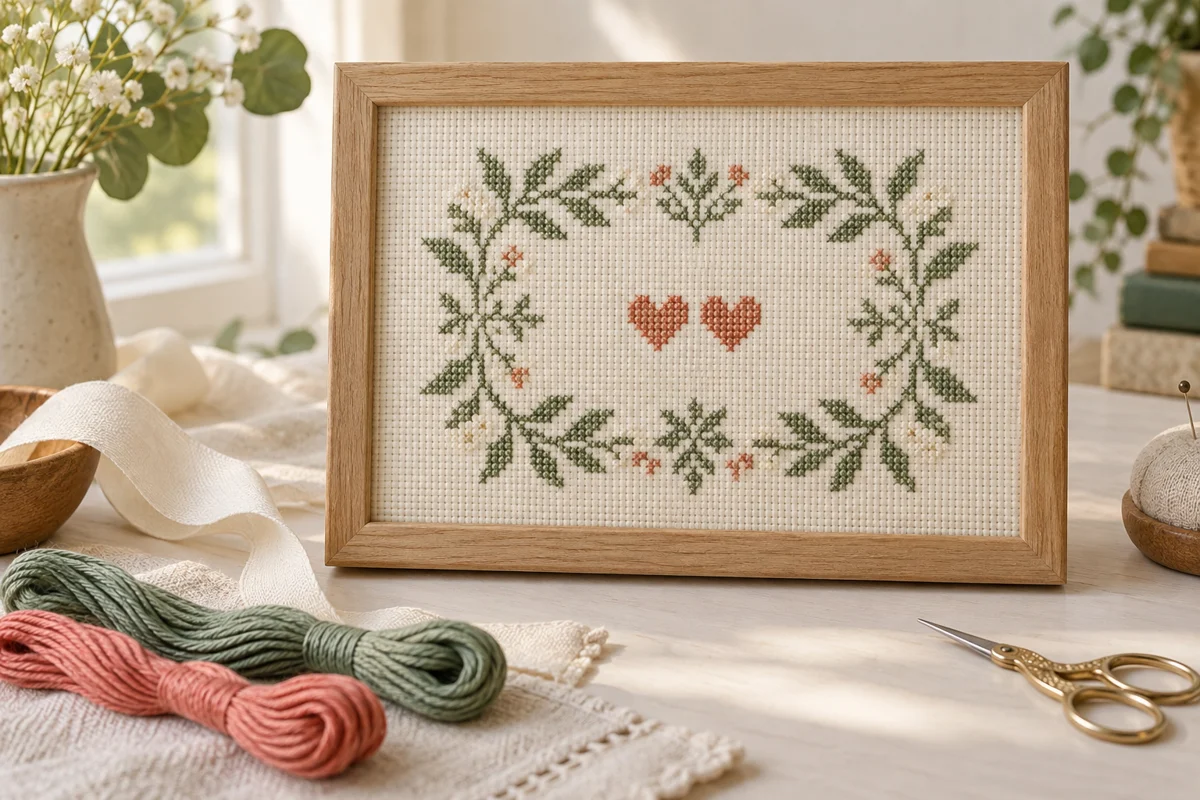
Choose the kind of wedding gift you can finish well
Wedding cross stitch patterns work best when the design, the deadline and the couple's taste fit together. A small sampler with two names can become a thoughtful keepsake. A larger picture can also be rewarding, but it needs more stitching time and a clear finishing plan. Before searching for a chart, decide what the finished object should do: hang on a wall, sit on a shelf, decorate a card, or become a small fabric accessory. That choice gives the project useful boundaries.
Ask about colors and wording early if the gift will be personalized. Check the exact spelling of both names, the order the couple prefers, and the date they want recorded. A ceremony date, a legal marriage date and a celebration date may be different. Do not guess which belongs on the piece. You can keep the design itself a surprise while confirming the facts through a discreet message. Save the confirmed wording in your project notes so it stays consistent when you draft the chart.
Choose a project whose main interest is visible at the intended viewing distance. On a small framed sampler, readable names and a balanced arrangement matter more than dozens of tiny decorative details. A restrained palette also makes it easier to coordinate with an unfamiliar home. If the couple has not shared a color scheme, ask whether they prefer quiet neutrals, bright color or a particular combination. You are planning something they can enjoy after the wedding, rather than matching every decoration at the venue.
Set the deadline around the finished object
Work backward from the date the gift must be delivered. Include time for checking the stitching, any appropriate cleaning, drying, mounting and packaging. If you are ordering a frame or posting the gift, include those steps too. A deadline for the final stitch leaves no room for finishing. The stitching time calculator can help translate your own pace into sessions, but allow extra sessions for lettering corrections and assembly.
Read the wedding chart before buying materials
A chart is more than the preview picture. Read its stitch dimensions, symbol key, recommended fabric and finishing notes. Look for fractional stitches, backstitch, knots, beads or specialty thread. A pattern built mainly from full crosses will usually be easier to adapt than a design whose appearance depends on many detailed techniques. The preview can hide those differences, especially when it is small. If a seller provides only a decorative mockup, request the technical information before committing to a time-sensitive gift.
Check whether the names and date are already charted or whether you must compose them with a supplied alphabet. An alphabet included with a pattern does not automatically mean every name will fit. Long names, hyphens and double surnames need more squares. Count the actual letters and spaces in the confirmed wording, then compare that width with the reserved area. A chart with a little open space around its text is more forgiving than a design with a border placed immediately beside every letter.
Read the pattern's permission terms for personal use and any sharing you plan. Buying a digital chart does not mean you can redistribute its file. Use an original design, a pattern whose terms permit your intended use, or your own chart. Do not copy lettering, decorative motifs or layout directly from another designer's preview. For a simple self-designed starting point, the blank grid designer lets you plan original shapes on a counted grid without borrowing a protected chart.
Separate required supplies from decorative extras
Make a short list of the fabric, working thread, needle and finishing materials that the chart actually needs. Then add optional decorations separately. This prevents a ribbon, charm or embellished frame from becoming a hidden requirement after the main materials are bought. Check that any extra object can be secured without pulling the fabric out of shape. A gift can be complete and attractive without additions that complicate its care.
Fit names and a date into a balanced layout
Start the lettering on paper or a digital grid. Mark the width of each letter, the spaces between words and any punctuation. Treat the text as a complete block rather than centering each letter separately. If the first line is 61 squares wide and the second is 49, the second line begins six squares farther in from the first line's left edge when both are centered. The difference in width is twelve squares, so half belongs on each side.
Odd widths sometimes leave a half-square discrepancy. You cannot put a whole-cross letter halfway between grid columns. Choose one side deliberately, then judge the arrangement as a whole. A border, a small motif or slightly altered spacing can make the visual balance comfortable. The chart's mathematical center and the apparent center of a word are not always identical because letters have different shapes. Print the draft or look at it from a little distance before deciding that a one-square adjustment is necessary.
Keep the date format understandable. Writing a month in letters avoids ambiguity between day-first and month-first numeric formats. However, a spelled-out month needs more space. Draft the complete date at the same time as the names, including any commas or separators. Use one lettering style for the main names and a simpler smaller style for supporting information if the grid allows it. Avoid shrinking the date until its numbers become hard to distinguish.
Test the alphabet before stitching the full inscription
Stitch a few letters on a fabric offcut using the intended count and thread. Include letters with narrow openings or adjacent vertical strokes. Check whether spaces inside the letters remain visible and whether one letter appears unusually tall or wide. This small test is useful when you have adapted a block alphabet. The name and alphabet maker can help explore simple lettering, while the lettering planning guide explains how to check spacing.
Calculate the fabric size from the actual chart
The chart's square count becomes a physical measurement only after you choose the effective stitch count. On 14-count Aida worked over one block, a design 112 squares wide and 70 squares tall measures eight inches by five inches. Divide each stitch dimension by fourteen. These are the stitched design measurements, not the fabric cutting measurements. You still need material for holding the work and for the finishing method you have chosen.
If you allow three inches beyond the design on every side, that example needs a fabric piece fourteen inches wide and eleven inches tall. Add the margin twice to each dimension because there is a left and a right edge, and a top and a bottom edge. Three inches is an example rather than a rule for every frame. Check the mounting board, the frame opening and the amount of fabric needed to secure the back before choosing your own allowance.
On evenweave or linen, count the fabric threads covered by each cross. A 28-count fabric worked over two threads gives fourteen crosses per inch, so the same chart has the same approximate design size as on 14-count Aida. Worked over one thread, the physical result is much smaller. Record both the fabric count and the over-one or over-two method in your notes. The fabric calculator and fabric guide can help keep these measurements consistent.
Reserve room for mounting and any additions
A stitched border close to the cut edge can be difficult to mount. Leave usable fabric beyond the outermost stitch, even if the design's background is mostly empty. Include the space needed for any charm or ribbon in the visible opening, then add the separate mounting allowance. Do not cut the final edges immediately after stitching. Keeping extra fabric until the mounting measurements are confirmed gives you more options.
Choose thread colors that keep the lettering readable
Lay the proposed threads on the actual fabric in the light where you will stitch. A pale thread can look distinct beside a dark skein yet almost disappear on ivory fabric. The names need enough contrast to remain legible when the finished piece is viewed from across a room. Use the darker or more clearly contrasting color for essential information. Supporting decoration can be gentler, provided it does not merge with the fabric.
Keep a record of the manufacturer, range and color reference for every thread you select. Digital color previews are useful for planning, but a screen color is not a reliable match to a physical skein. If you use the image palette tool to explore a color combination, treat its results as visual suggestions and compare real thread yourself. Avoid assuming that two threads from different ranges with similar numbers or names will match.
Use a test patch to choose the number of working strands. Follow the chart's recommendation first, then check coverage on your fabric. Too much thread can close small openings in letters and make nearby crosses crowded. Too little can make an inscription look weak against the decorative motifs. Keep the strand count consistent through the main text unless the design deliberately specifies a change. Record the result so you can repeat it if the project is interrupted.
Stitch in an order that protects the inscription
Find the fabric center and compare it with the chart center before starting. You may begin at the center or from a measured corner, depending on the layout, but the first position must account for the margins. For a personalized sampler, consider completing one central text line before expanding into large surrounding motifs. This establishes a reference you can use to check the other elements. Do not rely on the visual impression of a nearly empty piece to confirm alignment.
Check each name against the saved spelling as you stitch it. Mark completed chart squares on an authorized working copy and keep the original available. After a line is finished, recount its width and compare its position with the border or center markers. An extra gap between two letters can move everything that follows, even when every letter is individually correct. Catching that change before stitching the next line saves more work than discovering it after the entire border is complete.
Manage loose thread ends so they do not show through pale open areas. Secure starts and ends under appropriate nearby stitches, and avoid long dark carries behind unstitched ivory fabric. If a design has several isolated letters or motifs, stop and restart where needed rather than making the back untidy to save a few seconds. The loop start tutorial covers one starting method for suitable even numbers of working strands.
Add outlines and embellishments after checking the crosses
Complete the counted crosses and inspect the layout before adding backstitch or beads. Fine outlines can make lettering look clearer, but they will not correct a letter that is in the wrong column. Check the chart's instructions for the number of strands and the placement of outline stitches. Attach decorative additions only when the main stitching is settled and any planned cleaning has been considered.
Finish and present the sampler without rushing
Before washing, check the care instructions for the fabric, every thread and any added material. Do not assume that all embroidery can be washed in the same way. Specialty threads, hand-dyed materials and attached decorations can need different handling. If cleaning is appropriate, follow the material instructions and test uncertain combinations on an offcut first. Let the piece dry fully before mounting. Damp fabric trapped in a frame can create problems that are hidden until later.
Choose a mounting method that keeps the work square and allows the fabric to be supported without excessive tension. Confirm the frame opening against the finished stitched area rather than relying only on the predicted dimensions. Small differences in tension and the actual fabric can change the fit. Keep the text level when arranging the piece. The framing guide explains the order of measuring, positioning and securing a finished sampler.
Add a simple care note and, if useful, a record of the materials. The recipient does not need your entire working chart, but knowing whether the piece contains specialty thread or attached beads can help them care for it. Wrap a framed piece so the surface and corners are protected during delivery. If you include a card, describe the personal detail that guided the design. That gives the gift context without turning it into a long account of every hour spent stitching.
Check the finished gift against your original plan
Make the last review practical: names, date, legibility, alignment, secure finishing and delivery. Compare the inscription with the confirmed information one more time. Look at the piece from close up and from its likely viewing distance. Small irregularities that are visible only under magnification may matter less than a date that is difficult to read. Correct clear mistakes where you can do so safely, then judge the whole result rather than chasing every tiny difference between crosses.
If time becomes short, simplify an optional border or embellishment before compromising the names or the finish. A smaller original design with clear lettering and careful presentation still makes a complete wedding gift. Keep the final chart, thread notes and a photograph for your own project record. They can help if the recipient later asks about care or a repair. The finished piece should reflect the couple and remain comfortable to display, with the practical choices supporting that purpose.
Choose an original chart from our free collection, or check your fabric measurements before you begin.
Free cross stitch patterns · Fabric calculator