
Techniques · 8 MIN READ
The loop start, step by step
Secure an even number of strands with a small loop at the back of your fabric.
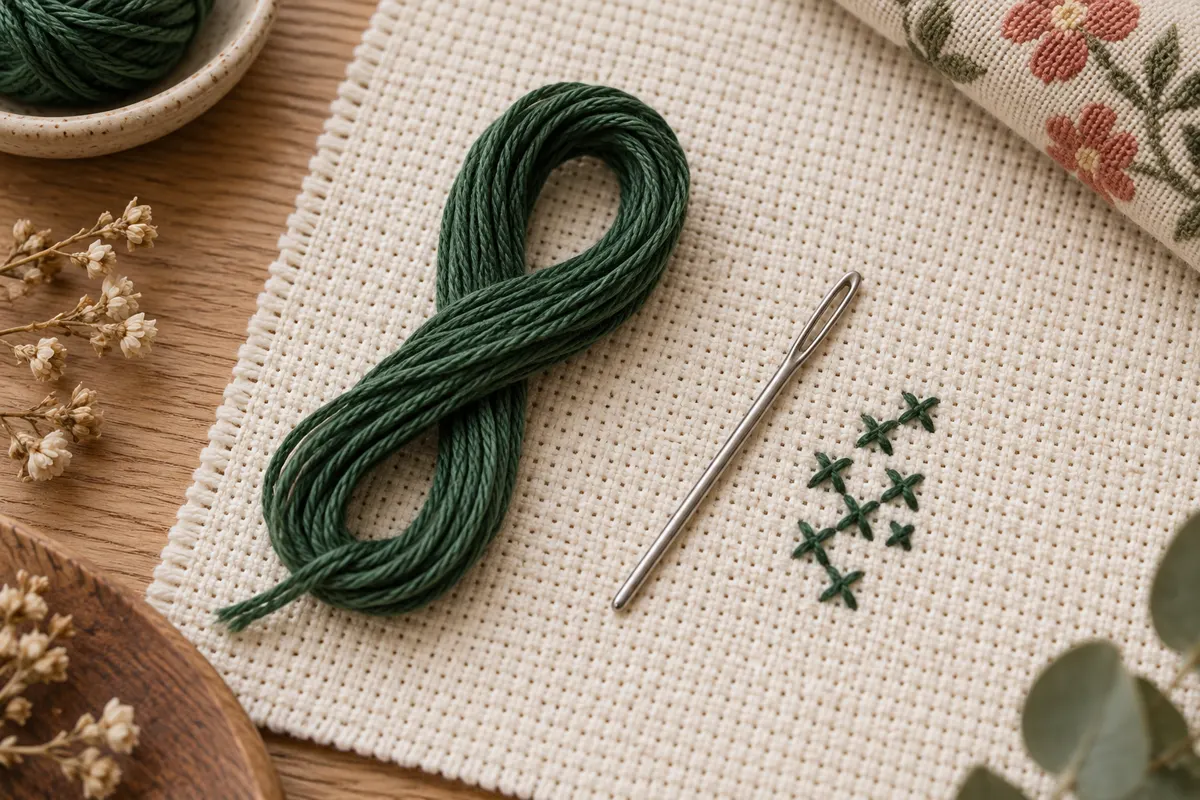
What a traditional loop start does
A loop start secures the beginning of a thread using a folded loop on the reverse of the fabric. Instead of tying a knot or holding a loose starting tail under several stitches, you pass the working needle through that loop as part of the first stitch. It can give a tidy start with little bulk, particularly when your chosen working strand count can be created by folding the thread.
The familiar two-strand version starts with one strand folded in half. Its two cut ends go through the needle, and the folded end becomes the anchoring loop. When you stitch, the two halves behave as two working strands. This distinction matters: folding two strands would produce four working strands, which may be more than the chart intends. Count the threads that will pass through the fabric, rather than only the number you initially separated from the skein.
A traditional folded loop is one starting option, not a requirement for every project. It works well in many ordinary cotton setups, but blended colors, variegated effects and specialty threads may call for another approach. Read the chart and thread instructions first. The needle and thread guide explains how strand preparation, needle size and fabric interact before you choose an anchoring method.
Check whether your thread combination is suitable
For two working strands of a single plain color, folding one strand gives the required pair. For four working strands of one color, folding two can create four, provided the fabric and pattern actually need that thickness. The method depends on an even folded arrangement. If the chart requires an odd strand count, the ordinary folded start does not directly reproduce it.
A blend made from one green and one gold strand cannot be reproduced by folding a single green strand. It would start with two green working strands instead of the specified blend. Keep the intended composition intact and use another suitable anchoring method. Specialized loop variations exist, but learn their particular setup rather than assuming they behave like the basic single-color version described here.
Variegated floss changes color along its length. Folding it can bring different parts of that sequence beside each other and alter the effect across the stitches. Some patterns intentionally use such effects; others expect a particular color progression. Test the appearance or follow the designer's guidance before using a loop start for a large area of variegated thread.
Consider the material as well as the count
A thread may be delicate, textured, metallic or intended to remain as one supplied unit. Check whether it is meant to be separated and folded. A starting method that works with cotton is not automatically appropriate for every decorative thread. Try it on the project fabric, inspect the anchoring loop and make a few crosses to see whether the material handles repeated movement comfortably.
Prepare the thread and starting position
Choose a working length with the fold in mind. Folding a strand reduces the available distance from the needle to the loop, so prepare a length that gives you a manageable working thread after it is doubled. Avoid making it so long that it repeatedly tangles. Your ideal length depends on the thread, your movement and the amount of wear it experiences as you stitch.
Separate the strand from the cut bundle, smooth it gently and bring its ends together. Put the two cut ends through the tapestry needle, leaving the fold at the other end. Check that you have a clear loop and that the ends remain together through the eye. The eye should accommodate the pair without force. If threading is difficult, inspect the needle rather than repeatedly damaging the floss tips.
Find the first square on both chart and fabric before placing the thread. Confirm its position from a reliable reference, including any finishing margins. A tidy anchor cannot compensate for starting in the wrong location. The beginner cross stitch guide explains how to find a center and check the first stitch against the chart.
Make the first diagonal and leave the loop behind
For a practice cross, imagine the square's lower-left, upper-right, lower-right and upper-left corners. Bring the needle from the back through the lower-left hole. Pull most of the working thread through, leaving the folded loop on the reverse rather than drawing it fully to the front. Keep the loop large enough that the needle can pass through it comfortably in the next step.
Take the needle down through the upper-right hole to make the first diagonal. On the back, pass the needle through the waiting loop. Pull gently until the loop closes against the reverse of the fabric and secures the diagonal. Avoid tightening so hard that the holes stretch or the square puckers. The anchor should be snug and stable, with the fabric still relaxed.
Complete the cross by coming up through the lower-right corner and down through the upper-left. You may use the opposite diagonal order if that is your established stitch direction; the same anchoring principle applies. Keep the top diagonal consistent across the project. Practise the sequence on a scrap so you can see both sides without worrying about a complicated chart.
Check the anchor before continuing
Look at the reverse and confirm that the working thread actually passed through the folded loop. If it missed the loop, the first diagonal may look correct on the front while the start remains unsecured. Correct it now, before later stitches hide the problem. Gently test that the thread stays in place, without pulling hard enough to distort the first cross.
Continue with a comfortable stitching rhythm
Once anchored, work with the folded pair as the two working strands specified for the crosses. Let them lie alongside each other rather than deliberately twisting them. If the needle rotates during stitching and the thread starts winding tightly, pause and allow it to unwind above a clear area. The loop start secures the beginning; it does not eliminate ordinary thread twisting or wear.
You can finish each cross individually or work a row of first diagonals and return with the second diagonals when the chart structure suits that method. Keep checking your position and tension. A row of connected stitches in one color is a useful practice area because you can focus on the thread path. Our easy pattern guide helps you choose a chart with manageable color changes.
Do not keep using a working length after it becomes badly frayed or difficult to control. Finish it securely and begin a fresh thread. Using an excessively long folded strand to avoid another start can create more tangling and inconsistent stitches than it saves. Record the length that feels comfortable for your own setup rather than treating another stitcher's preference as a rule.
Solve common loop start problems
If the loop disappears through the first hole, you pulled too much thread to the front before passing through it. Reverse the initial diagonal carefully or restart the setup so a usable loop remains at the back. If the loop is so small that the needle cannot enter it, loosen the thread while it is still accessible. Do not force a knot into the hole to compensate for losing the fold.
If the first stitch puckers, reduce the force used when closing the loop. Check whether the thread bundle is too thick for the fabric as well. A bulky pair on a very fine count may behave differently from two strands on 14-count Aida. The fabric guide explains how stitch size changes with count and over-one or over-two placement.
If the cut ends slip out of the eye, leave a more comfortable tail through the needle and avoid pulling unevenly on one end. Confirm that the initial strand was folded evenly enough for practical handling. An uneven fold is not necessarily harmful, but it can leave one half much shorter than the other and make the usable working length inconvenient.
Keep the start separate from a counting error
A secure first stitch can still be one square away from its intended position. Before stitching a large area, check the anchor square in two directions against the chart. Temporary guides can help on a larger project, but they also need verification. The gridding guide describes using reference lines without relying on them blindly.
Use another anchor when the loop does not fit
A starting tail can be held on the reverse and caught beneath several subsequent stitches. Confirm that those stitches actually secure it before trimming. This can be useful when the working threads are a blend or when the strand count does not suit a traditional folded loop. Plan the path so the tail does not lie behind a large area of bare fabric where it may show through.
When nearby stitches are already present, some setups allow a new thread to be anchored beneath suitable stitches on the reverse. Choose an area that holds it securely without creating excessive bulk or pulling existing crosses. An isolated first stitch with no neighbors needs a different plan from a connected block of color. Follow the pattern's specified method if its materials or finish require one.
Avoid making every start a long carry from a distant completed area simply because it is easy to anchor there. Carries can show behind light fabric or catch during handling. Compare the distance, background visibility and thread path. The floss estimation guide explains why those extra paths affect thread usage as well as the appearance of the reverse.
Finish the thread and test the next start
A loop start only secures the beginning of the working length. When you finish, pass the needle under several nearby stitches on the reverse, then trim the tail carefully without cutting the holding stitches. Check that the finish remains stable when you gently move the fabric. A secure start paired with a loose finish still leaves the piece vulnerable to ordinary handling.
If you are working a practice sample, record the fabric count, working strands and starting method. Inspect the front for even diagonals and the reverse for unwanted bulk. Try a second small section with another appropriate start to understand the difference. You do not need to use one method everywhere; the choice can change with the thread combination and location in the design.
Choose a small motif from the free chart collection when you want to practise without managing a large project. Use the written pattern for the stitch positions and treat illustrative photographs as examples of the craft setting. Once you can form, check and finish the loop calmly, it becomes a convenient part of your stitching routine rather than a separate complicated task.
Choose an original chart from our free collection, or check your fabric measurements before you begin.
Free cross stitch patterns · Fabric calculator