
Techniques · 8 MIN READ
Backstitch, half stitches and quarter stitches
Read the chart key and add outlines or small details with confidence.
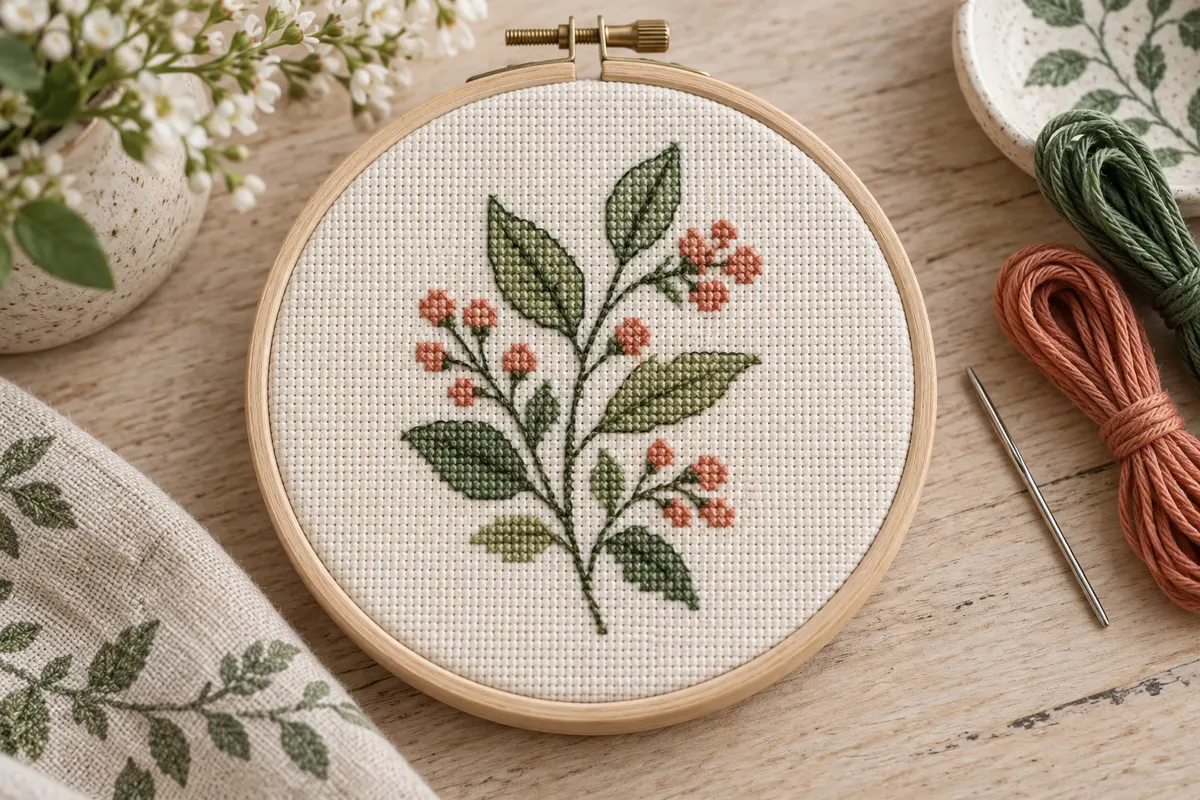
Read the extra stitches before starting the chart
Backstitch and fractional stitches add detail that a grid of full crosses cannot always express cleanly. Backstitch creates lines, such as a stem, letter or outline. Fractional stitches occupy part of a chart square, allowing a color boundary to pass through it. These additions can make a small motif clearer, but they also introduce positions and instructions you must interpret beyond the ordinary full-cross symbols.
Read the chart key before preparing your thread. Identify which symbols represent full crosses, which represent fractions and which line styles indicate backstitch. Note the thread color and working strand count for each. A thin dark line drawn on the chart might be part of the design rather than a grid boundary. The legend should resolve that distinction, especially where outlining passes through already stitched squares.
If you are choosing your first project, you can begin with a chart containing full crosses only and add one technique on a later piece. The easy pattern guide explains how to recognize these features before committing to a design. A small chart is not necessarily simple if nearly every square contains two colors or the outlining defines all of its fine detail.
Understand backstitch as a line with endpoints
A counted backstitch line connects the positions shown by the pattern. It may follow the side of a square, travel diagonally or span a specified longer distance. Look at its endpoints rather than assuming every segment must be exactly one square long. Some charts use different colors or dashed lines to distinguish several outlining threads; keep that key visible while you work.
For a practice horizontal line, mark four successive boundary positions in your notes as A, B, C and D. Bring the needle up at B and take it down at A, creating the first visible segment. Come up at C and go down at B, then come up at D and go down at C. Each new segment joins the previous one while the needle's visible movement goes back toward it.
Keep the thread snug against the fabric without cinching the endpoints. Too much pull can distort the weave, while a very loose line may lift from the surface or catch during handling. Test a short line on the actual material before outlining a whole motif. For additional visual reference, DMC publishes a cross stitch stitch diagram guide that includes backstitch and partial crosses.
Choose the line weight intentionally
The chart may call for fewer strands in backstitch than in the full crosses. One strand can make a fine line, while a thicker bundle produces a stronger outline. Follow the instructions first, then assess any substitution on a sample. The needle and thread guide explains separating strands and testing coverage without automatically using the same bundle for every stitch type.
Plan when to add the outlining
Many counted designs place backstitch after the underlying crosses are complete. This makes the line easier to see and avoids repeatedly working crosses over it. Follow the designer's order when provided. On a large piece, you may choose to complete outlining in verified sections, but check whether later stitches or thread paths will interfere with the finished lines.
Mark completed outlines separately from the crossed squares on your working chart. A highlighted square does not necessarily mean the line passing through it has been stitched. Keep a distinction between the two tasks so you can stop and resume reliably. If the digital chart tool you use cannot mark lines separately, maintain a small note of the section and outlining color completed.
Before adding a line, check the underlying shapes against the chart. An outline can make an unnoticed counting shift more obvious. Resist drawing the line around whatever crosses happen to be on the fabric if that would change the intended design. Decide whether to correct the crosses first or make an intentional documented adaptation, based on the complete motif rather than one isolated edge.
Know the difference between half and quarter crosses
A half cross is one diagonal across a full square. It can create a lighter effect or form part of a fractional combination. Its direction matters: the chart may indicate which diagonal is required, and a background half stitch is not automatically the same as the upper leg of every neighboring full cross. Check the key and the intended effect before choosing the direction.
A quarter stitch runs from a square's corner to its center. Its position depends on the corner shown by the symbol. A quarter in the upper-left part of a square does not occupy the same space as one in the lower-right. When a chart uses a small symbol in a corner, enlarge it enough to identify the location clearly rather than treating it as a normal full-square color.
A three-quarter stitch combines a full diagonal with a quarter leg, forming most of a cross while leaving one part for another color or an edge. The chart determines its orientation. Where two colors share a square, check which part belongs to each and whether a backstitch line is also present. Do not infer every fractional combination from a finished photograph when the symbol key is available.
Keep a small symbol note beside the key
Write down your interpretation of an unfamiliar symbol before stitching it, using a corner description or a simple sketch. Compare it with the pattern's own diagrams and instructions. If two symbols remain ambiguous, ask the pattern designer rather than improvising a rule for the entire piece. One correctly understood example can clarify many later squares, while one repeated misunderstanding can affect the whole outline.
Find fractional positions on the chosen fabric
On Aida, the corners of a full cross sit at the regular block holes. A quarter stitch needs to reach the center of that block, where there may not be a ready-made hole. Use a needle and method suitable for entering that position without damaging the weave. Practise on a scrap and avoid repeatedly forcing a blunt needle through a resistant block.
On evenweave worked over two threads, the middle position can be located among the individual fabric threads within the full cross's span. This can make some fractional placements easier to identify, although you still need accurate counting and appropriate tension. The fabric guide explains over-two placement and why the fabric's thread count differs from the effective number of crosses per inch.
Do not change to another fabric solely because a chart contains one fractional stitch without considering the whole project. The new count changes physical dimensions and can affect thread coverage. Use the fabric count converter to compare sizes, then test the particular fractional placement. A comfortable sample gives better evidence than assuming one fabric is always right for every detailed chart.
Work a fractional boundary without adding bulk
Study the square before stitching it. Identify the colors, occupied corners and direction of the full diagonal, if one is required. Work the intended parts without adding an extra complete cross underneath merely to fill the space. That extra thread can make the boundary bulky and change which color appears dominant. Follow the chart's construction rather than trying to make every partial square behave like a full one.
Where backstitch crosses a fractional boundary, check the specified order and strand count. The outline may reinforce the edge, but it does not automatically replace a missing leg unless the design instructions say so. Different designers chart these combinations differently. Keep the original key available and avoid carrying an interpretation from one pattern directly into another without checking it.
Inspect the result at normal viewing distance after completing a small section. Fractions can look unusual in extreme close-up while reading clearly as a smooth edge in the full picture. If the color boundary looks wrong, compare the placement with the chart before changing the thread thickness. Shape, orientation and tension are separate variables; identify which one caused the problem.
Preserve consistent full-cross diagonals around the detail
Neighboring full crosses should keep their usual top-diagonal direction. A fractional stitch may need a different arrangement to create the intended edge, so read its orientation independently. Do not reverse all nearby crosses simply because one fraction points another way. Checking a small finished area under good light helps you see whether the design's boundary and the surrounding stitch surface remain coherent.
Correct mistakes while the area is accessible
If an outline connects the wrong endpoints, remove the affected segments carefully before adding more along the same path. A line that is one square away from the intended border can affect several features at once. Count its start and end against two known references. The gridding guide describes using verified boundaries as an aid, while completed stitches provide another useful check.
For a misplaced fraction, examine the actual thread path before cutting or unpicking it. Small center placements can be close to other stitches, and pulling several threads at once may disturb correct work. Reverse the path when practical, protect the fabric and cut only the thread you intend to remove. If the weave has been damaged, reassess the area before repeatedly restitching into the same point.
If the outline appears too heavy, confirm the working strands against the key. If it appears loose, check tension and segment length. If it looks jagged, inspect the chart endpoints and whether long segments were incorrectly divided or short ones joined. These are different problems. Changing all three at once makes it harder to understand which adjustment helped.
Practise with a small sample and record the decisions
Create a practice sample containing a few full crosses, a short horizontal backstitch line, a diagonal outline and clearly identified fractional positions. Use a chart or sketch whose placements you understand. Our graph paper generator can provide a blank grid for notes, but it does not assign stitch meanings automatically. Label the positions and thread combinations in your own working record.
Choose one variable to test at a time: a different line thickness, a center placement on another fabric or a new outline path. Record the needle, strand count and result. If you design digitally with the blank grid tool, remember that its current export represents full crosses only. Keep separate instructions for any outlines or fractions you add to a design afterward.
Before finishing the actual piece, review both the cross symbols and the line instructions to confirm that all intended detail is complete. Secure the thread ends and inspect the reverse for unnecessary bulk. The framing guide explains why this review matters before mounting. With readable instructions and a tested setup, additional stitches become deliberate design choices rather than surprises hidden among the full crosses.
Choose an original chart from our free collection, or check your fabric measurements before you begin.
Free cross stitch patterns · Fabric calculator