
Projects · 8 MIN READ
Cross stitch pillow kits: check the panel and finishing requirements
Check what a pillow kit includes, calculate the stitched panel and cover dimensions, and test borders, backing and closure before assembly.
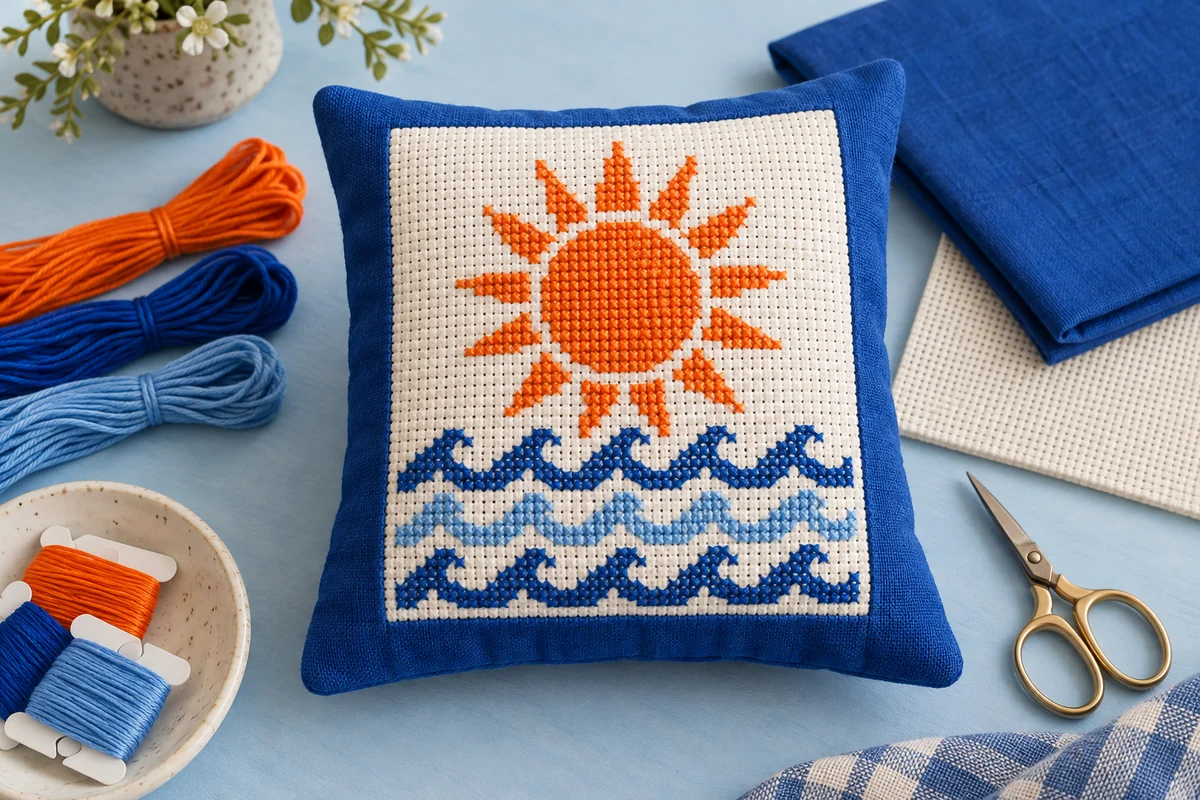
Read the kit as a stitching and sewing project
A cross stitch pillow kit can describe several different products. One may supply everything for the stitched front but leave the backing, opening and cushion insert to you. Another may include a pre-sewn cover with a counted area, while a third combines a chart, fabric and some finishing materials. Before choosing a kit, read the contents and assembly instructions separately. A photograph of a finished pillow does not prove that every component shown is supplied in the package.
Make a practical inventory before starting. Identify the chart, key, counted fabric, thread, needle and any backing or trim. Then list the items needed for the finished object, including the insert and closure where applicable. Check whether you need sewing equipment beyond your embroidery tools. This prevents a straightforward stitching project from reaching an unexpected construction step when the front panel is already complete. The beginner kit guide explains the broader questions to ask about kit contents.
Check what the advertised size describes
A stated size may refer to the stitched motif, the front panel, the finished cover or the intended insert. Those dimensions are related but not interchangeable. Read the description carefully and look for a construction diagram. If the information is unclear, obtain the measurements before making substitutions. A front panel with generous raw fabric margins can still finish smaller once borders and seams are taken into account. Write each dimension beside its role rather than storing a single unexplained number in your project notes.
Compare counted, stamped and pre-sewn options
A counted kit asks you to place stitches by reading the chart and counting the fabric grid. This gives you a clear method for checking coordinates, but it requires attention to the centre and surrounding margins. A stamped product has a printed guide on the fabric and may have its own instructions for thread matching and finishing. Do not apply one product's cleaning or marking-removal process to another. The stamped cross stitch guide explains why product-specific directions matter.
A pre-sewn cover can reduce later assembly, but it may make the embroidery less accessible. Check how the counted section is reached and whether you can keep the front separate from the back while stitching. A narrow opening can limit hoop placement or hand movement. Examine that access before choosing a dense design. If the cover has a lining, make sure you understand whether the lining stays out of the stitch path or requires a specific construction sequence.
A flat panel offers easier access while stitching and leaves the sewing until afterward. That can be a helpful separation of tasks, provided you are comfortable with the finishing method. Look for clear instructions for attaching the panel, adding borders and closing the cover. A small amount of counted embroidery does not automatically make the sewing beginner-friendly. Choose a construction you can practise on spare fabric before using the finished stitched panel.
Assess the chart and thread requirements
Study the chart's stitch types, size and color changes before starting. A pillow front may contain a large filled area even when the motif looks simple from a distance. Count the distinct thread colors and look for isolated stitches, backstitch or raised embellishments that add complexity. Check that the key states the required strand count for each stitch type. Keep the complete key with the project rather than relying on memory after sorting the threads.
Verify the supplied fabric count and the intended stitching convention. A chart worked over one square on Aida differs in size from a design worked over two fabric threads on an evenweave. Use the fabric guide to understand that distinction, then follow the kit's actual instructions. If you substitute fabric, recalculate the dimensions and sample the thread coverage. The supplied quantities and finishing pieces may have been planned for the original material rather than your alternative.
Sample coverage before changing strand counts
Use a spare area or matching scrap to test the prescribed thread coverage. Examine it under the lighting where you will usually stitch and from normal viewing distance. Do not increase strands across the whole design simply because an enlarged photograph looks fuller. A change can affect texture, thread consumption and the ease of stitching through shared holes. If an adjustment is necessary, make it deliberately and record it, while recognising that the kit's supplied thread quantity may no longer be sufficient.
Calculate the panel and finished cover dimensions
A design 112 stitches wide on 14-count Aida measures 8 inches across when one cross occupies one square. If it is 98 stitches high, its stitched height is 7 inches. Those measurements describe the image, not a completed pillow cover. Add the borders and finishing allowances specified by your construction method. The fabric calculator can check the embroidery dimensions, but the sewing pattern determines how the surrounding materials become the final cover.
Draw the front panel at full size on paper. Mark the outermost stitches, blank border, seam lines and raw edges separately. This helps you see whether a planned trim or seam will crowd the design. A motif can appear well centred on a loose piece of fabric yet sit unevenly after a border is added. Use the final visible area as your reference when checking the composition, and keep enough raw fabric for the construction steps until those steps are confirmed.
Check the insert requirements against the finished cover instructions. Do not choose an insert using only the stitched motif's dimensions. The cover's shape, border arrangement and closure all contribute to its fit. If the kit provides guidance for a particular insert, follow that guidance or test your intended alternative with a fabric prototype. Trying to force an oversized insert into a finished embroidered cover can place unwanted strain on seams and distort the decorative front.
Stitch the front while protecting finishing margins
Locate the chart centre and fabric centre before beginning. Confirm the planned orientation, especially if the panel is rectangular or has unequal allowances. Keep the grid aligned with the future edges of the cover. If you need a hoop, choose one that holds the work comfortably without forcing already completed details beneath the edge. The hoop guide offers advice on fitting and repositioning fabric during larger projects.
Keep the finishing margins available throughout stitching. Do not trim them away to make the panel easier to hold, and avoid placing temporary marks where they could remain visible in the final border. Use marking products only according to their instructions and test them on matching material where appropriate. Store the chart, key and sorted thread together so the project can be resumed without uncertainty after a break.
Inspect counting, tension and the reverse as you work. A pillow panel will eventually sit over a soft form, but that does not mean distorted fabric or thick clusters of thread ends become irrelevant. Aim for an even surface that lies naturally before assembly. Check important outlines before filling adjacent areas, and secure ends using a suitable method. Keep long reverse carries deliberate so they do not snag during handling or show through lighter fabric.
Prototype borders, backing and the opening
Before assembling the finished front, practise the construction on spare materials. Include the same layers, border widths and closure method you plan to use. A sample made only from a single thin cotton layer may not reveal the bulk created by the actual counted fabric. Test the corners and turning process, then measure the result. Small losses at seams can affect the fit even when the raw pieces were measured accurately.
Plan access for removal and care
If the cover is intended to be removable, check that the opening allows the insert to pass comfortably. An envelope opening, zipper or another closure has its own construction requirements. Follow the supplied pattern rather than improvising an opening after all the edges are sewn. Confirm that the closure does not rub against the stitched front or trap its reverse. A removable cover can make future care more practical, but only if the materials and care instructions support the chosen cleaning method.
Lay out the completed front and finishing pieces before sewing. Check the motif orientation and the direction of any patterned backing. Reserve the embroidery's visible space rather than allowing a border to cover stitches unintentionally. Work from the confirmed seam allowances and inspect each stage before proceeding. Remove temporary pins and other tools carefully, and check the finished object for anything that should not remain inside the cover.
Match the finish to decorative or regular use
Decide whether the pillow is mainly decorative or will receive frequent contact. Raised knots, beads and other protruding details may need more protection than a flat full-cross design. A chart suitable for display does not automatically suit every kind of daily handling. Choose the design and finishing materials with that use in mind. If you want embellishments, the beaded cross stitch guide explains the planning questions around raised decoration.
Care applies to the whole combination: stitched fabric, thread, backing, trim, closure and insert. Follow the actual instructions for those components. A backing fabric's washing label alone does not establish that the embroidery or trim tolerates the same treatment. Test spare samples when appropriate and avoid unsupported claims that the finished pillow is machine washable. For a gift, provide care information based on what you used rather than a general recommendation for all embroidered cushions.
Inspect the cover after fitting the insert. Check that the motif remains balanced, the corners sit comfortably and the seams are not being pulled excessively. Look at the front from its normal viewing position, where the pillow's shape can alter the apparent margins. If the cover needs adjustment, address the construction instead of trying to stretch the embroidered panel into a different shape. Store the pillow without crushing raised details when it is not in use.
Keep kit information for future repairs
Save the chart, thread key, fabric count and assembly instructions together. Record any substitutions and the final cover and insert dimensions. Keep small amounts of spare thread where practical so a minor repair does not require guessing the original color. Photograph the completed front and the closure arrangement; these references can help if you need to reopen a seam or recreate the cover later.
Use the project tracker to separate embroidery, inspection, sewing and final fitting. Finishing the stitches is an important milestone, but the pillow is complete only when its construction and intended use have been checked. A successful cross stitch pillow kit project combines readable instructions, suitable materials, calculated dimensions and a tested assembly method. Reviewing those connections early lets you enjoy the embroidery while keeping the finished cushion practical and well considered.
Choose an original chart from our free collection, or check your fabric measurements before you begin.
Free cross stitch patterns · Fabric calculator