
Patterns · 8 MIN READ
Large cross stitch PDF patterns: print, assemble and track pages
Check the permissions and completeness of a large PDF chart, plan readable printing, connect page coordinates and track stitching progress.
Check the source before planning a large project
Searching for large cross stitch patterns free PDF can lead to very different kinds of files: complete charts shared by their designers, sample pages, preview images and copies whose origin is unclear. Before choosing a project, identify the source and read the stated use permissions. Free access does not automatically mean permission to redistribute the chart, sell copies or use every design commercially. Keep the original source information with the file so those conditions remain available after downloading.
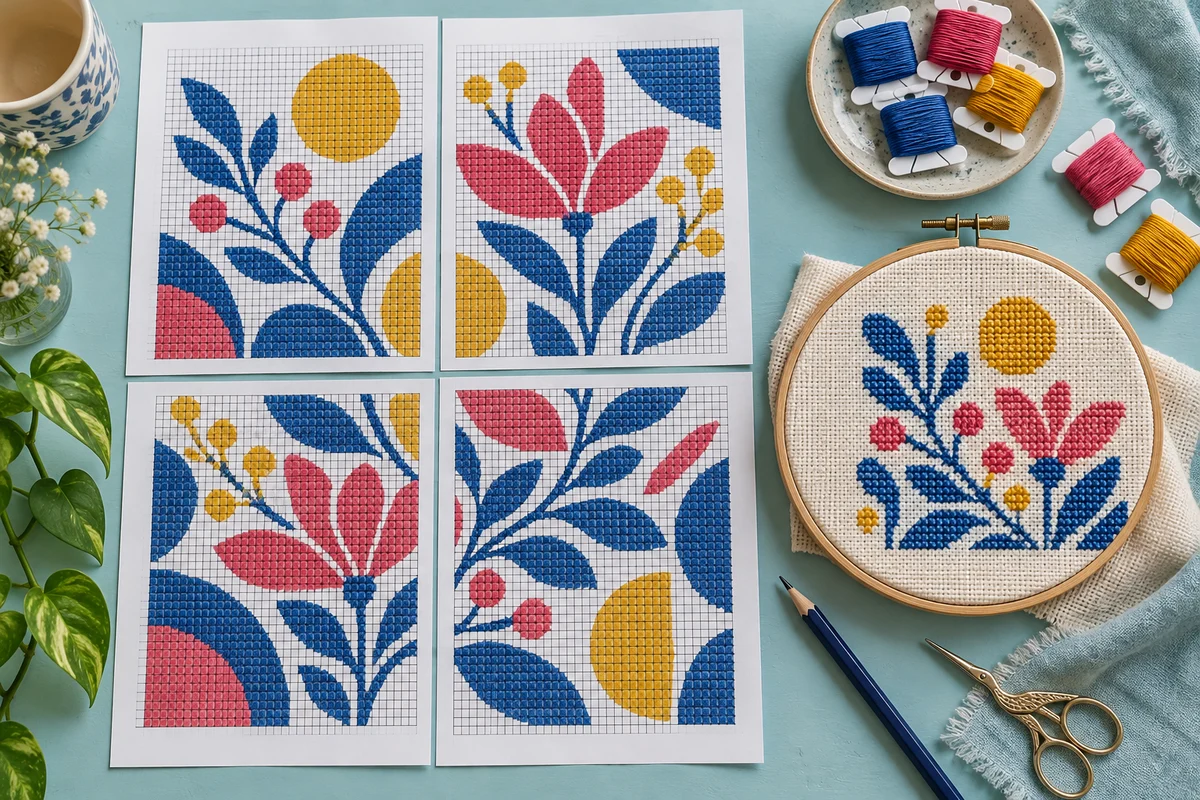
This guide explains how to evaluate and work with a large PDF chart; the editorial illustration is not a downloadable pattern. Choose an actual complete chart from a source you can identify, then inspect its contents before preparing supplies. A large design requires enough time and material that a short file check is worthwhile. A beautiful preview alone does not prove the chart is readable, complete or suitable for your intended finish.
Separate previews from working instructions
A finished-project photograph or low-resolution preview can show the design without providing usable symbols. Look for the complete chart, color key, stitch instructions and overall stitch dimensions. Check whether a download is a full pattern or only a sample from a larger product. If its purpose is unclear, obtain clarification before buying fabric or treating the visible pages as the whole design. Do not infer missing sections from the preview image.
Inspect the complete PDF and its key
Open the file and review every page before beginning. Identify the cover information, chart sections, thread list and any special-stitch instructions. Check that symbols remain distinguishable when enlarged and that lines or small marks are not missing. A chart may offer several versions, such as a color view and a symbol view. Establish which version you will follow, and keep its matching key available throughout the project.
Confirm the full width and height in stitches. Locate any centre marks and read the page layout diagram if one is supplied. Also identify the stitching convention and required fabric. A design worked over two threads on evenweave needs its size calculated differently from a chart worked over one square on Aida. The fabric guide explains these distinctions, which remain important regardless of how many pages the PDF contains.
Check whether special symbols represent beads, knots, fractional stitches or another technique. Do not assume every mark is a full cross. The chart's own key defines their meanings. Keep the instructions for those details with the working pages, especially if they appear only near the beginning or end of the document. A large page set becomes easier to navigate when essential information is accessible without repeatedly searching the entire file.
Calculate the physical size and realistic scope
The chart's stitch dimensions determine its physical size together with the fabric and stitching convention. A design 280 stitches wide and 210 stitches high measures 20 by 15 inches on 14-count Aida when one cross occupies one square. Those measurements describe the stitched area, not the cut fabric or frame. Use the fabric calculator to confirm the dimensions, then add the allowances required by your intended mounting and finishing methods.
A large rectangle does not necessarily contain a cross in every cell. Look at the actual density, color changes and special stitches when estimating the work. A design with open background areas can behave differently from a fully covered image of the same width and height. The time calculator can support a rough plan, while timing a representative sample gives you evidence from your own materials and working method.
Plan materials before committing to the schedule
Check thread references, quantity guidance and the equipment needed to hold the fabric. Reserve space for attachment and finishing rather than cutting only to the stitched dimensions. The online supply guide explains how to compare fabric and thread specifications. Leave room for sampling, corrections and final construction in your schedule. Completing a large chart is only one part of finishing the project you intend to display.
Print a readable sample before printing the whole chart
Print one representative chart page that contains several symbols and any fine lines. Read it under your normal stitching light and compare it with the PDF. Check that dark areas have not merged and that similar symbols remain distinguishable. A printout can look tidy from a distance while being difficult to use cell by cell. Resolve that readability issue before producing the full set or marking progress on an unclear chart.
Printer settings can alter how much of a page is visible and how large the symbols appear. Check for clipped edges and missing coordinate labels. The printed square size is a reading aid, not the physical size of a stitch. Changing the print scale does not change the chart's stitch count or the required fabric dimensions. The graph paper guide explains this separation between drafting or viewing scale and the actual embroidery size.
If you prefer a digital display, inspect the same details at a comfortable zoom. Make sure you can navigate between the chart and key without losing your place. Keep the device suitably protected from tools and spills. A digital view can reduce paper handling, but it still needs a consistent method for identifying coordinates and recording completed stitches. Choose the working arrangement you can maintain during an ordinary session.
Identify page joins and repeated overlap areas
Use the chart's page map and coordinate labels to determine how the sections connect. Do not arrange pages solely by matching the visible picture. Similar motifs or repeated background areas can make that unreliable. Confirm which page belongs above, below or beside another and how their rows and columns relate. Keep a simple map with the active page identified so moving between sections remains deliberate.
Some multi-page charts repeat edge rows or columns to provide context. Read the overlap instructions and locate those repeated coordinates. They represent the same stitches, not additional rows to add to the design. Mark their role clearly in your working notes. If you stitch an overlap twice, the chart can shift or grow beyond its intended dimensions even though each individual page appeared to be followed correctly.
Test one join on paper before crossing it on fabric
Compare a few identifiable symbols and coordinates on both sides of a planned join. Check the overlap or adjacency according to the chart's instructions. If the relationship remains unclear, resolve it before stitching across the boundary. A short paper check can prevent a large counting problem later. Do not invent a missing row or remove one merely because the printed pages leave a physical gap on the table.
Establish references on the prepared fabric
Locate the chart centre and the fabric centre, then verify the design's placement within the finishing allowances. Choose counted reference points that remain useful when only part of the fabric is visible. If you use a marking method, follow its product instructions and test its suitability for the actual material. A grid drawn on the cloth is not a substitute for checking how its lines correspond to the chart's coordinates.
Plan how the work will be held and moved. A scroll frame can expose selected sections while managing excess fabric, but its visible edge does not define a chart page boundary. A hoop offers a different working arrangement and may require repositioning. In either case, count from verified stitched landmarks rather than treating the edge of the holder as a coordinate reference.
Keep the thread key and any substitutions connected to the working chart. Large projects can involve similar colors and long breaks between sessions. Written references are more reliable than memory of which blue or green was used on the previous page. Secure thread ends appropriately and keep reverse carries deliberate, especially when moving between distant sections. The beginner guide covers the counted foundations that still matter on a large design.
Track completed stitches without obscuring instructions
Choose a progress-marking method that preserves the information you may need for checking or correction. Follow the permissions for your chart copy and any software you use. Keep the original file unchanged where practical, with working annotations stored separately or in a clearly identified working version. A heavily marked chart can become difficult to interpret if you later need to verify the original symbols underneath.
Record both stitching and checking as separate milestones. An area that looks complete may still contain a counting error or an unfinished special detail. The project tracker can record active pages, checked boundaries and remaining work. When ending a session, note the current color and a verified reference point rather than simply writing a page number. That small amount of context makes resuming easier after a break.
Check progress at page boundaries and major landmarks. Compare coordinates, shapes and the full composition rather than treating each page as an independent picture. If a mismatch appears, identify where the chart and fabric first diverge before continuing. Adding more stitches around an unresolved error can make correction more difficult. Keep any corrected instructions clear so the same uncertainty does not recur on a later section.
Preserve the correct version through finishing
Save the source information, final chart version, thread key and project notes together. If the designer provides an update, compare it carefully with the version already used and identify the affected area before changing your working instructions. Do not mix pages from different versions without understanding their relationship. Consistent files are especially important when a large project remains in progress for an extended period.
Before finishing, inspect the full design beyond the individual page sections. Check special stitches, boundaries, thread ends and the margins reserved for mounting. Follow the actual materials' care instructions and plan the final construction using guidance such as how to frame cross stitch. A successful large PDF project combines a complete readable chart, clear coordinates and a reliable progress record. Those practical checks let you work through many pages while preserving one coherent finished design.
Choose an original chart from our free collection, or check your fabric measurements before you begin.
Free cross stitch patterns · Fabric calculator